My first essential cookbook suggestion is really a category. Every vegetarian kitchen needs one, basic, all purpose cookbook. The kind of cookbook whose first sentence reads: Stand facing the stove. This is the cookbook you will go to when (like me) you can’t remember how long it takes to hard boil and egg. I hate hardboiled eggs. I don’t eat hardboiled eggs. And I don’t want to take up vital brain space remembering how long to cook hard boiled eggs.
This is also the cookbook you will go to if you live in New Zealand, which is metric, and most of your cookbooks are from the US and, consequentially, not metric.
This is also where you will go if you come home from the farmer’s market with a huge bunch of Cavolo Nero, and you don’t know what it is or how to cook it. Actually, if that happens, you will come to the Kale Whisperer. But you know what I mean.
When I was learning to cook, that cookbook was The Joy of Cooking by Irma S. Rombauer and Marion Rombauer Becker. I read it cover to cover. Several times. It was my mother’s default wedding gift. Every new bride needed a copy of Joy. When I got married, in 1981, I got at least five copies. In my mind, it remains the essential all-purpose cookbook. If you aren’t a rigid vegetarian, and you might want to know how to poach a salmon, you’ll want this as your basic cookbook. Be sure to get the 75th anniversary edition, not the controversial 1997 “All New” version. It lacks the vital “Know Your Ingredients” section and some of the more “quaint” sections, like canning, pickling, and preserving. If you can find a used copy of the original, preferably with someone’s notes scribbled in it, all the better.
A newer, cooler, more vegetarian-focussed option is Mark Bittman’s How to Cook Everything Vegetarian (Wiley, 2007).Bittman is a food journalist and a leading advocate of sustainable cooking. How to Cook Everything Vegetarian includes two excellent introductory chapters on equipment and techniques, numerous instructive sidebars offering variations, lists, and charts by ingredient. It uses an icon system, so you can quickly identify Fast, Make-Ahead, and Vegan recipes, and includes a table of “Recipes by Icon.” There are a few menus, and an extensive and useful index, so it is easy to find what you are looking for. Even if you are not vegetarian, you can’t go wrong with this one; although, if you prefer a more all-purpose cookbook, his How to Cook Everything is also excellent. Obviously, however, you will lose some of the specialised vegetarian cooking content.
My third recommended option is Deborah Madison’s The New Vegetarian Cooking for Everyone (Ten Speed Press, 2014). This one is weaker than Joy and How to Cook Everything on technique, but its excellent first chapter, “Becoming a Cook,” includes valuable advice on Composing a Vegetarian Menu, Menus for Holidays and Special Occasions, and Wine with Vegetables. Chapter Two: Foundations of Flavor is also excellent and includes sections on various types of ingredients — herbs, chills, cheese, dairy and dairy substitutes, to name just a few. The thing I like best about Madison’s cookbook is that she includes flavour matches for individual vegetables and fruits. This is where you turn if you want to know what goes with Brussels Sprouts — butter, olive oil, mustard oil, cream, béchamel, blue cheese, cheddar, mustard, capers, lemon, vinegar, caraway, oregano, parsley, dill, curry spices, and juniper.
Depending on where you live, you may have other, preferred all-purpose cookbooks. If so, please tell us about it! For my mother’s generation, the classics were the Good Housekeeping or Fanny Farmer Cookbooks. In France, it would be the classic Larousse Gastronomique (1938). Times change, and different cultures have different basics. The important thing is to have one. It will be your touchstone and security blanket. Years from now, it will be splattered, scribbled on, and held together with duct tape and rubber bands. It will be the outward and visible sign of your cooking journey.
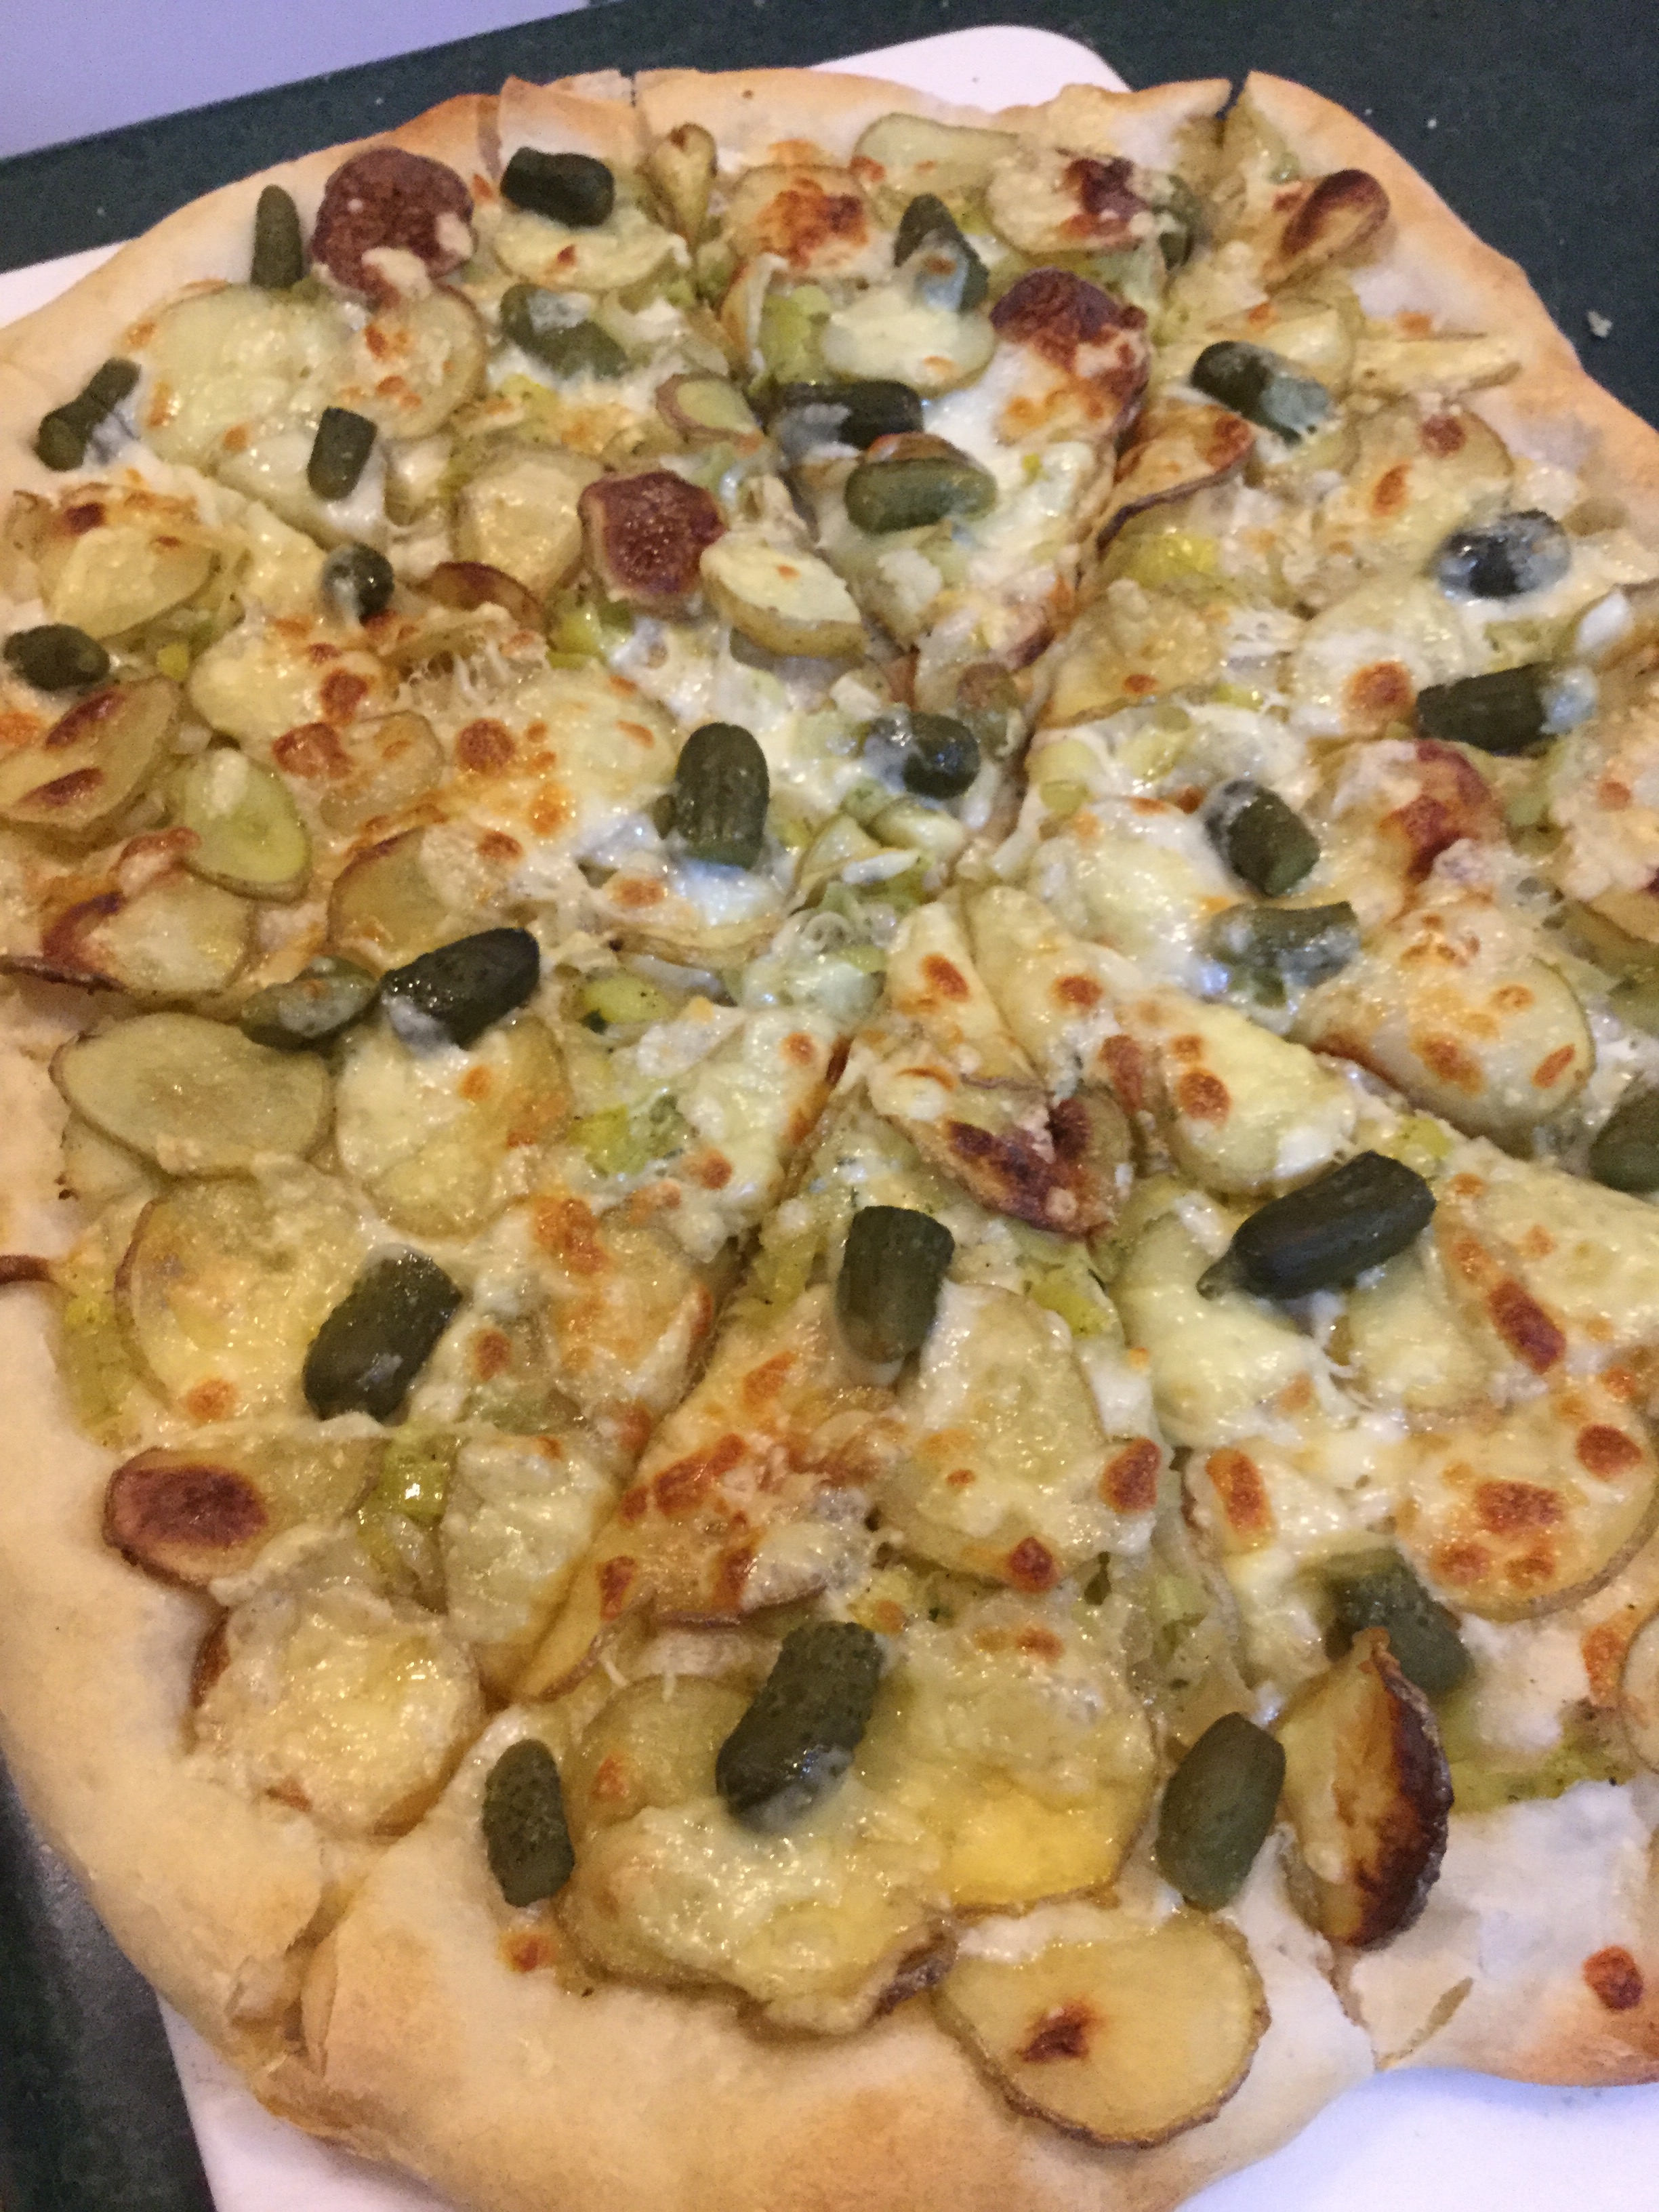
Making your own pizza crust has numerous advantages that you’ve heard dozens of times before: its cheaper than restaurant pizza, it doesn’t have lots of baddititives, you can control the fat, salt, and sugar content, and you can top it with whatever you like. Even potato chips and pickles.
It is also fun and rewarding.
And if you serve it to your non-pizza-crust making friends, they will say “ooh and ahh” (because they will be too busy chewing to say more), and everyone will think you are very clever, indeed!
I have settled on a few basic things that you must remember when making your own version of perfect pizza crust:
You can make pizza crust at the last minute, but you cannot make perfect pizza crust at the last minute. You must plan ahead, at least 24 hours. They key to pizza crust that is the perfect combination of blistery, crispy, and tangy is time. But it takes less than five minutes to set the dough up, and then it just sits happily in your fridge for a day or two. Then, on the day you are planning to bake it, take the dough out early in the day and let it lounge around in your kitchen until it looks like a science experiment. This was, until recently, the greatest barrier to my achieving pizza crust nirvana.
Use plain old unbleached all-purpose flour. Bread flour has too much gluten and will make your crust harder to stretch and tougher. Fancy pizza flour blends are not worth the extra cost. And weigh your flour. That way the ratio of dry to wet ingredients will always be right.
Stretch your pizza dough onto a sheet of parchment or baking paper, and let it rest there. When its ready to bake, you can just shift the paper on to a baking sheet or pizza peel, and shift it directly onto the pizza stone. Don’t let anyone persuade you that you can do the same thing with cornmeal. It will end in tears. And who wants uncooked cornmeal all over their pizza crust?
Use a pizza stone, or baking tiles. The key to perfect pizza crust is to cook it fast at very high heat. If you don’t have a pizza stone and are too poor to go to the building supply store and buy a few unglazed ceramic tiles, you can start the pizza on a baking sheet and the transfer it midway through baking directly on to the oven rack. I leave my pizza stone on the bottom rack of my oven all the time.
So, here’s the drill:
Start by putting 1 teaspoon (5 ml) of active dry yeast in 1 1/4 cups (355 ml) warm (verging on hot) tap water. Don’t use quick rise (bread machine) yeast. Set it aside and let the little yeasties wake up and start farting. After a few minutes, it will look like this:
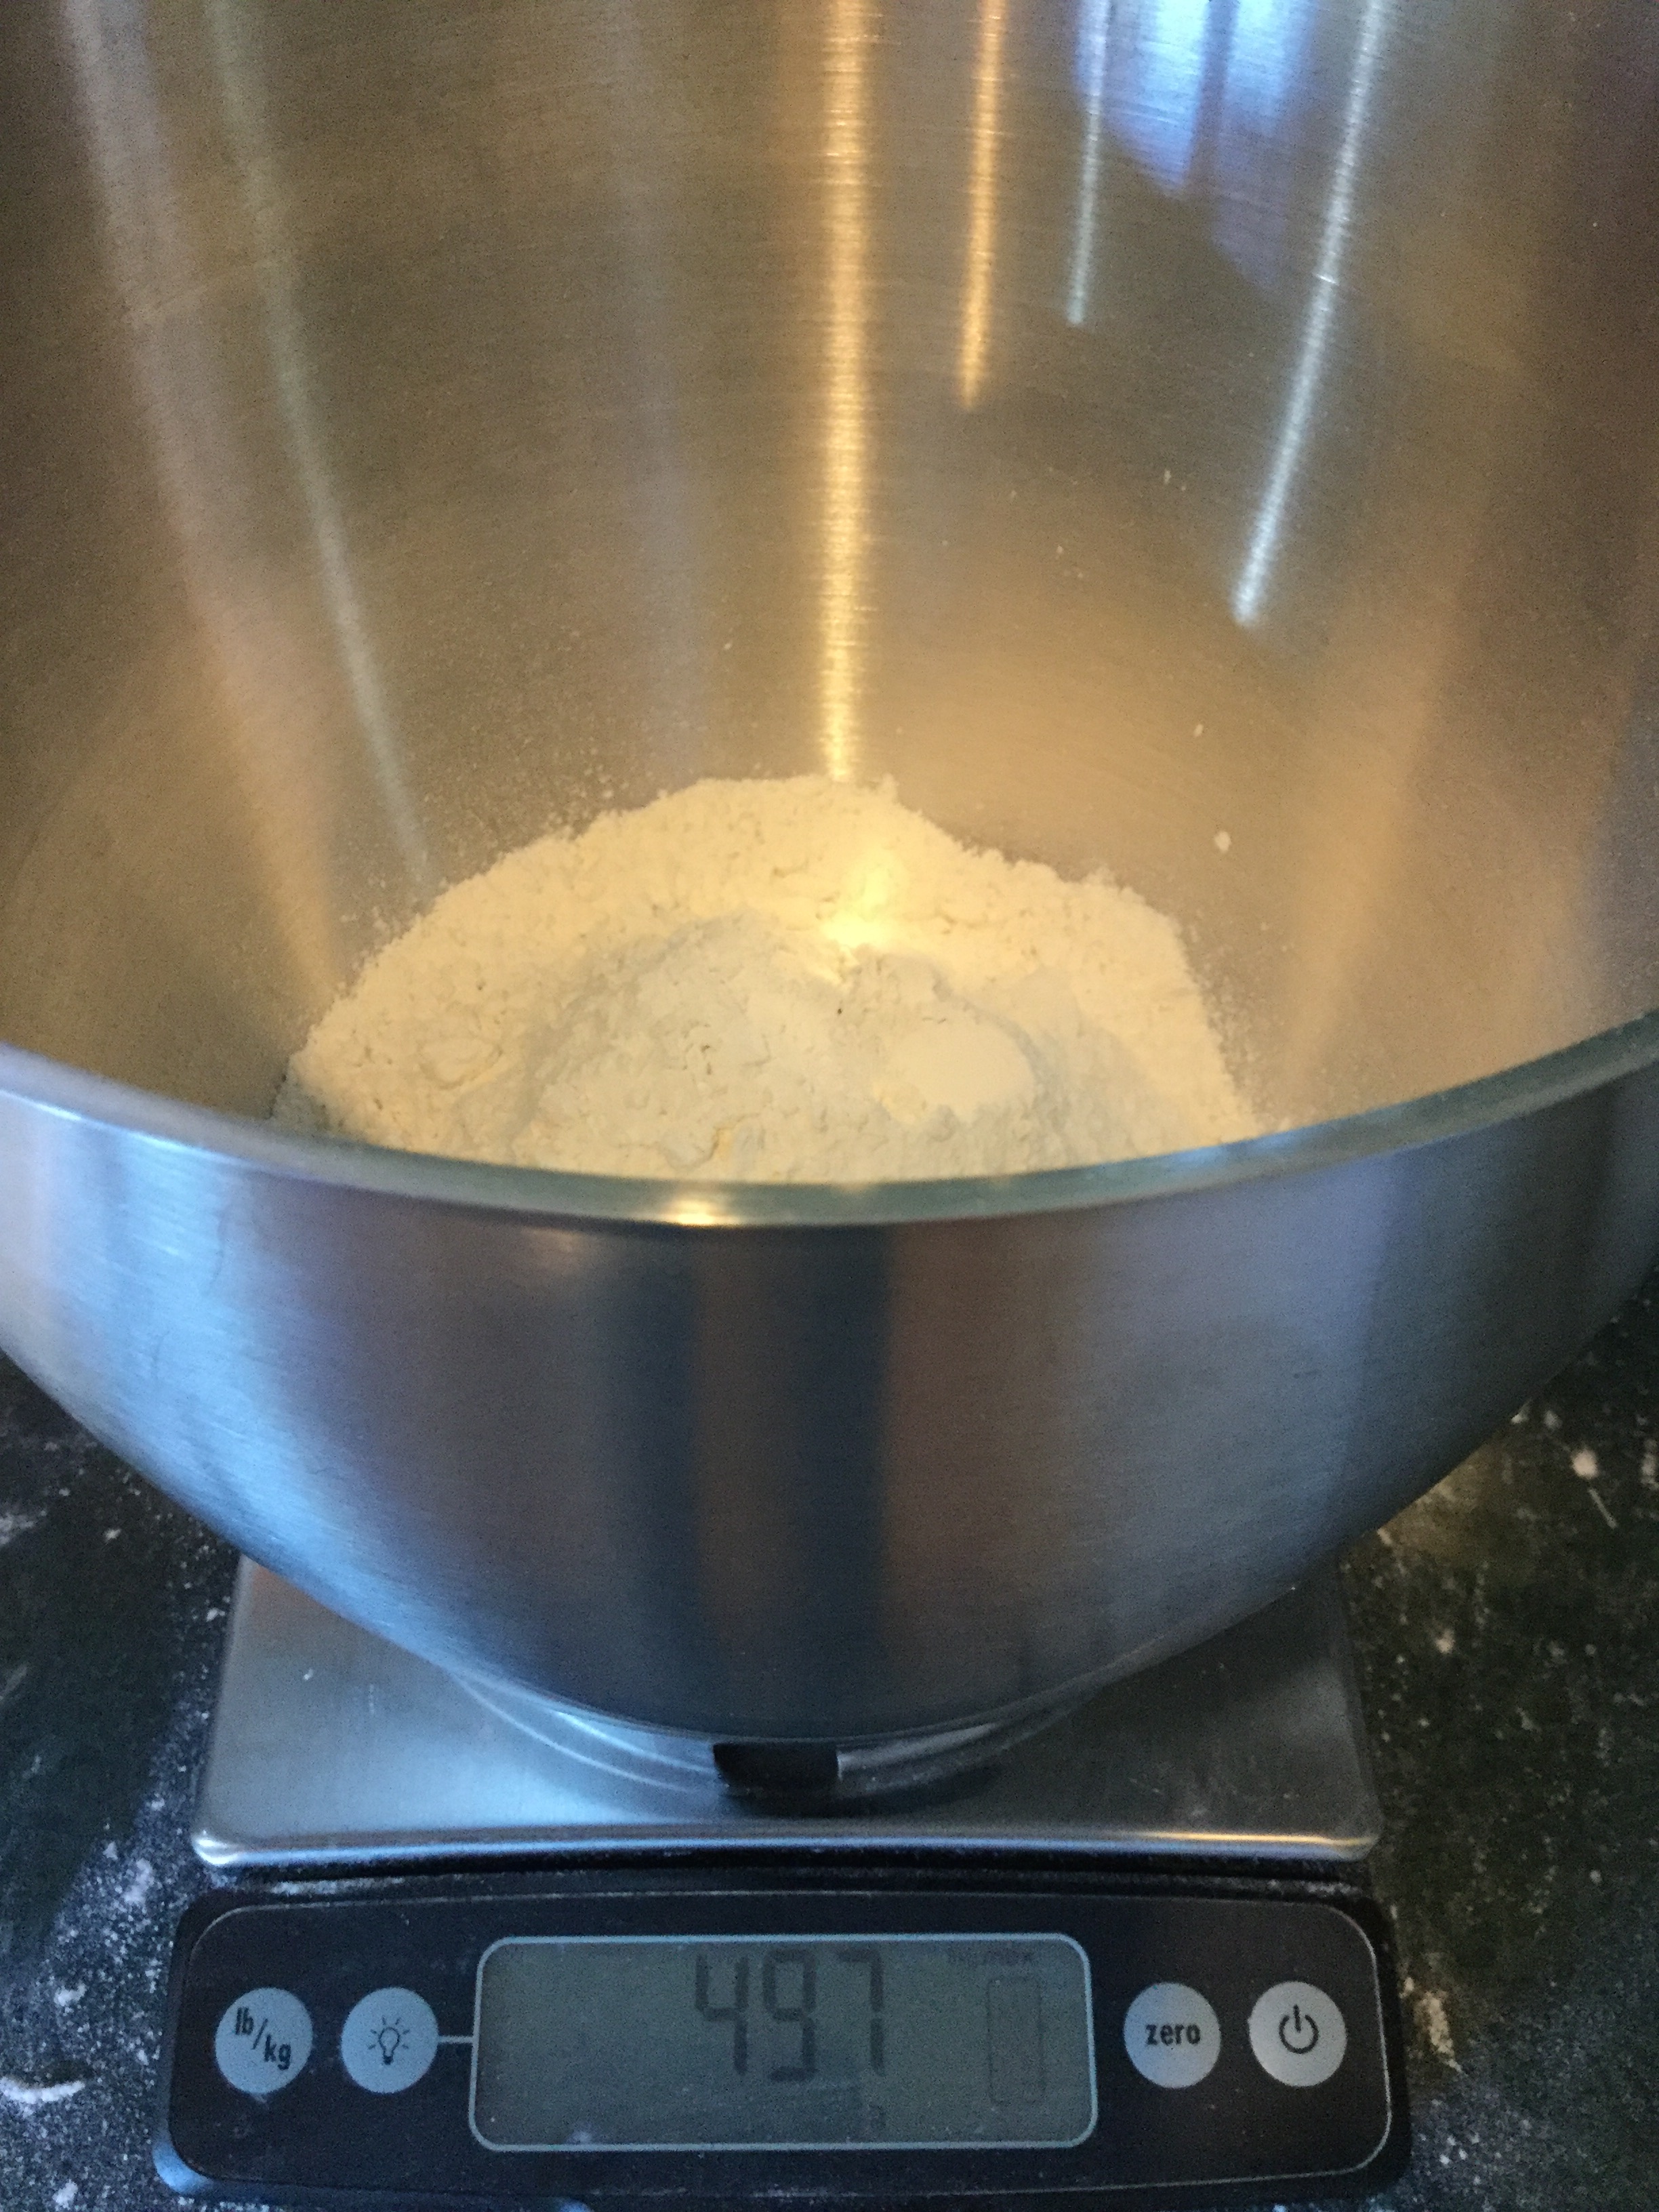
Measure 497 grams of all purpose flour into the bowl of a standing mixer or food processor. That’s 3 1/2 cups if you don’t have a kitchen scale.
Add 1 1/2 teaspoons (7.5 ml) salt (I used pink salt here, but kosher, table, or fine sea salt work just as well)
When the yeast has demonstrated its liveliness, add 2 Tablespoons (30 ml) of extra virgin olive oil. You’ll end up with a bubbly concoction that looks like this:
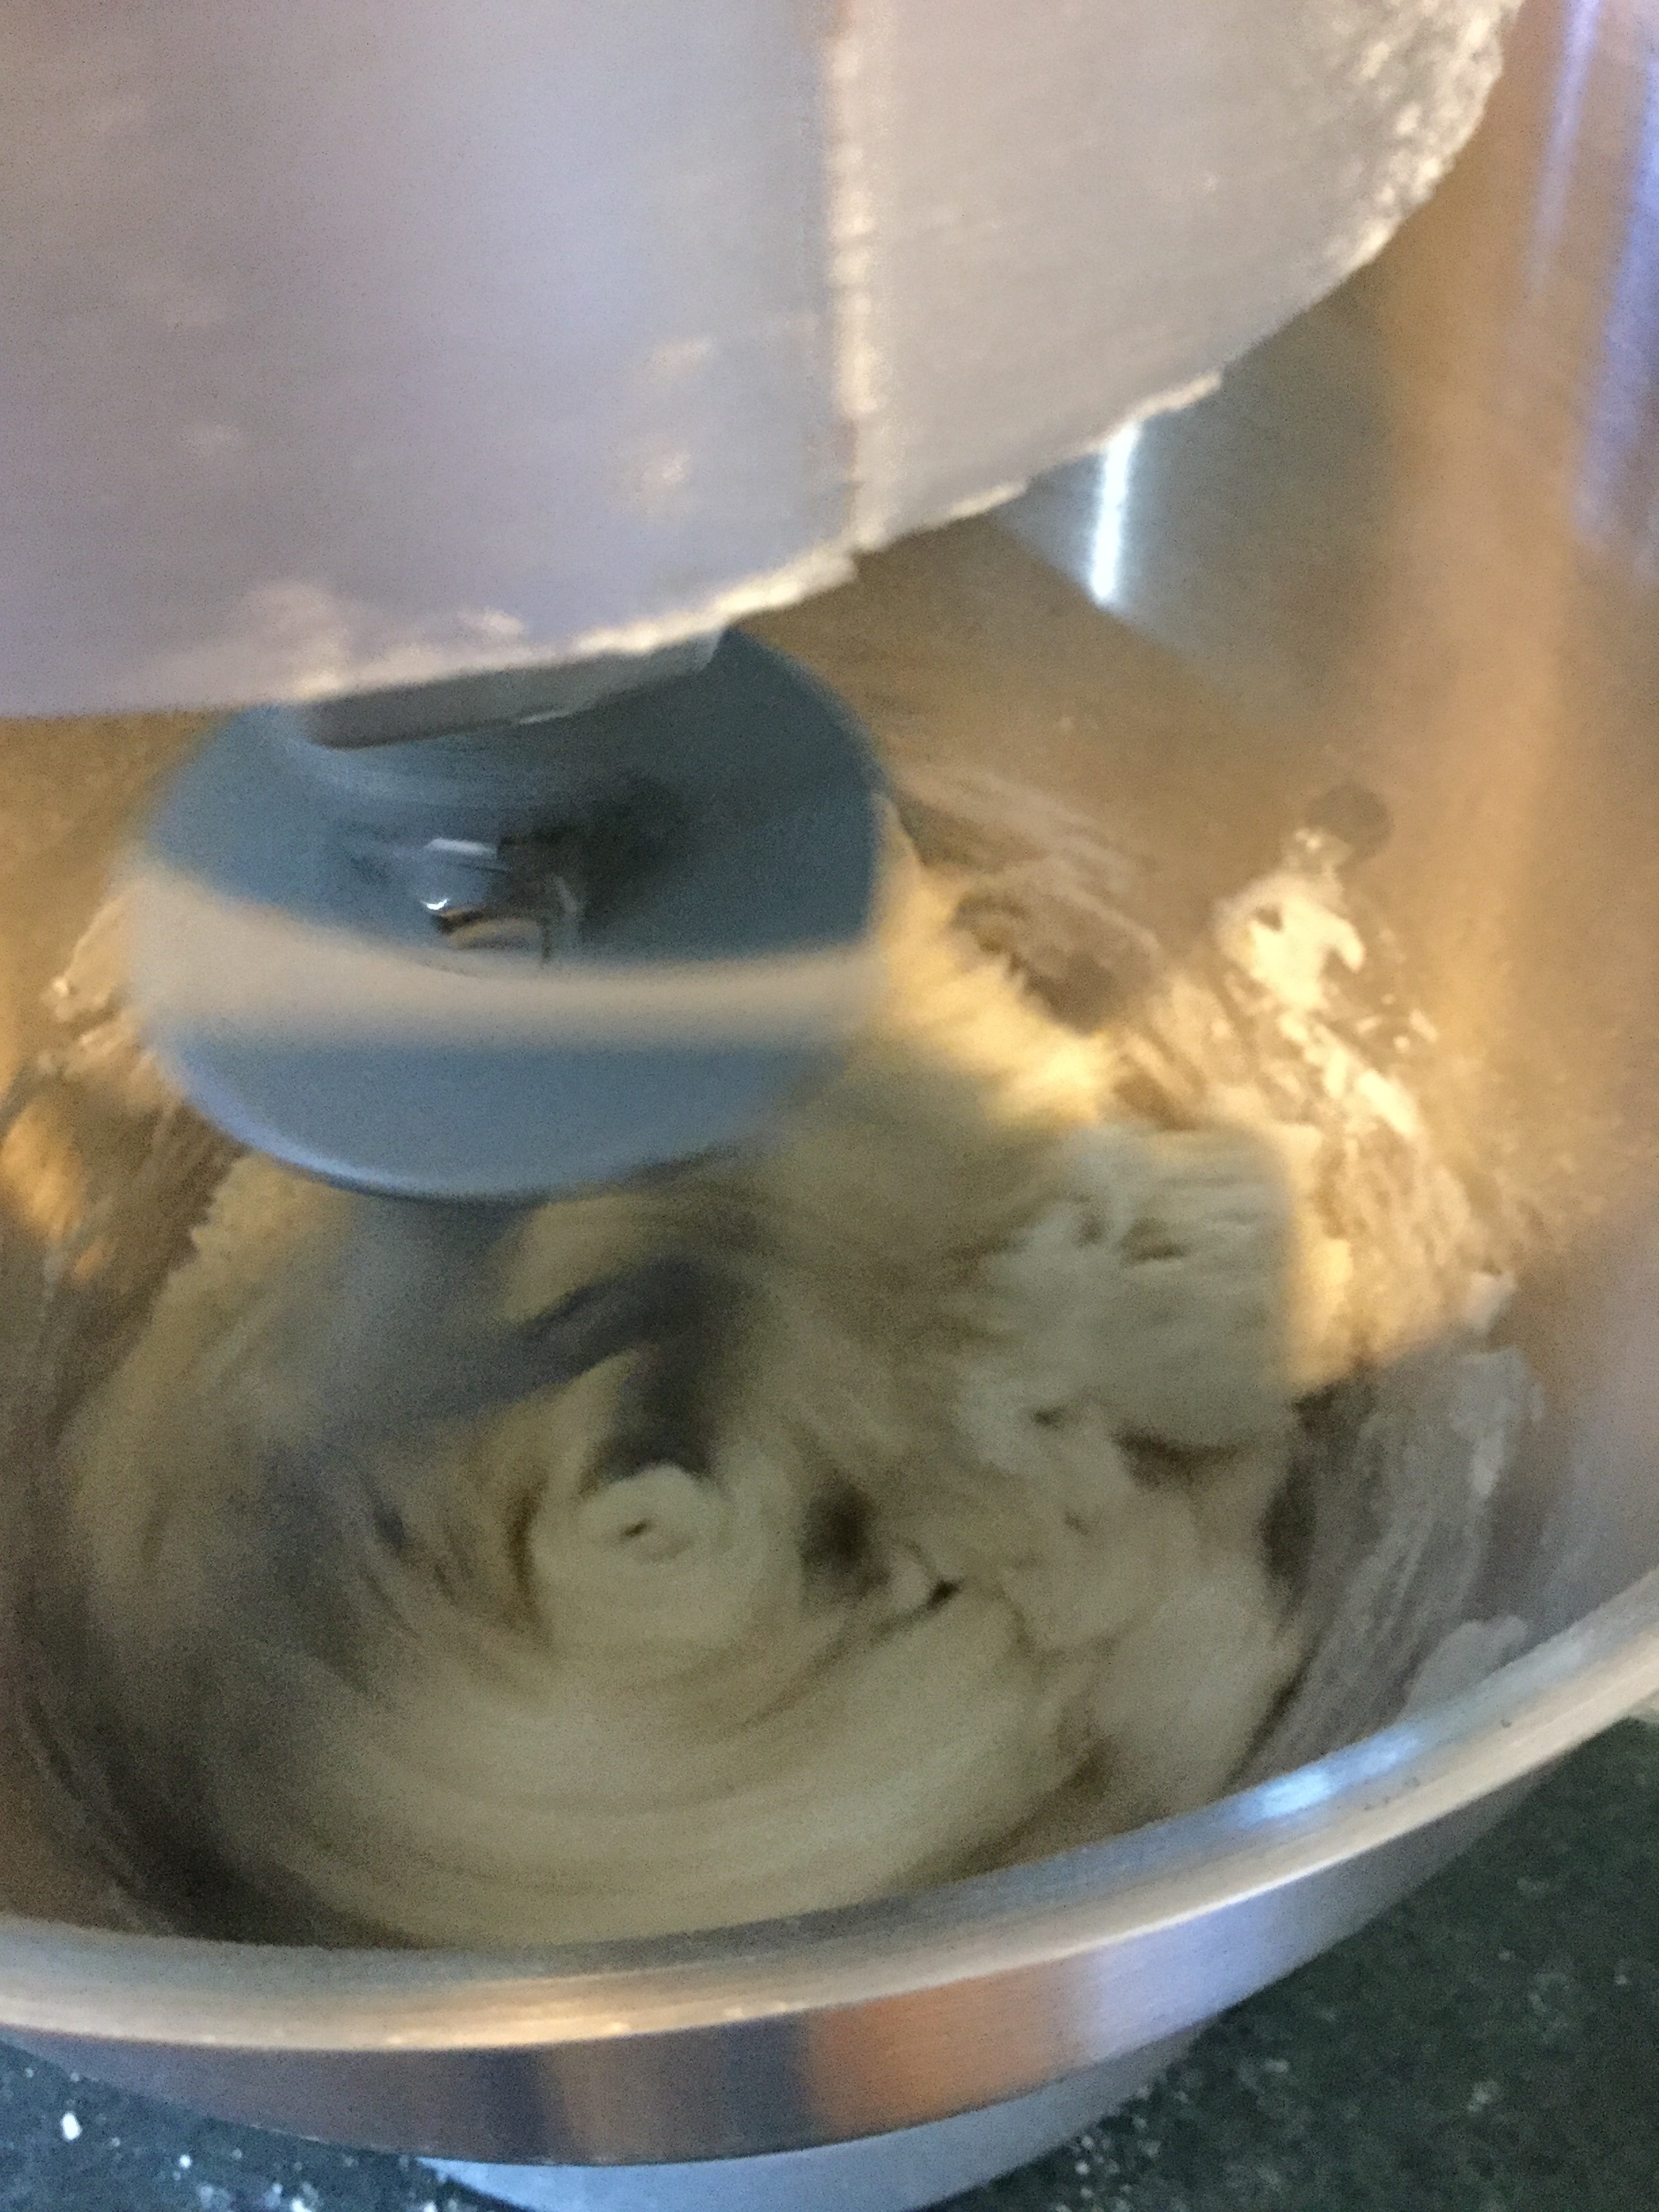
Attach the paddle to your mixer (or the metal blade, if you are using a food processor) and run, or pulse it for a few seconds to incorporate the salt and flour. Then, gradually (but not too gradually) pour in the water/yeast/EVO mixture.
Some recipes will tell you to add the flour to the liquid, but I find adding the liquid to the flour just works better.
Let the mixer run until the dough starts to come together into a shaggy glob. It won’t really come together in a smooth ball — if it does the dough might be a bit dry. It should pretty much clean the sides of the bowl, though.
At this point, you can take the dough out of the bowl and put it on a well-floured surface. It will look a mess:
Now, gently knead the dough for just a few turns to coax it into a smooth, but still slightly sticky ball:
Put your lovely batch of pizza dough into a plastic bag and pop it into the fridge, like this:
Go to bed.
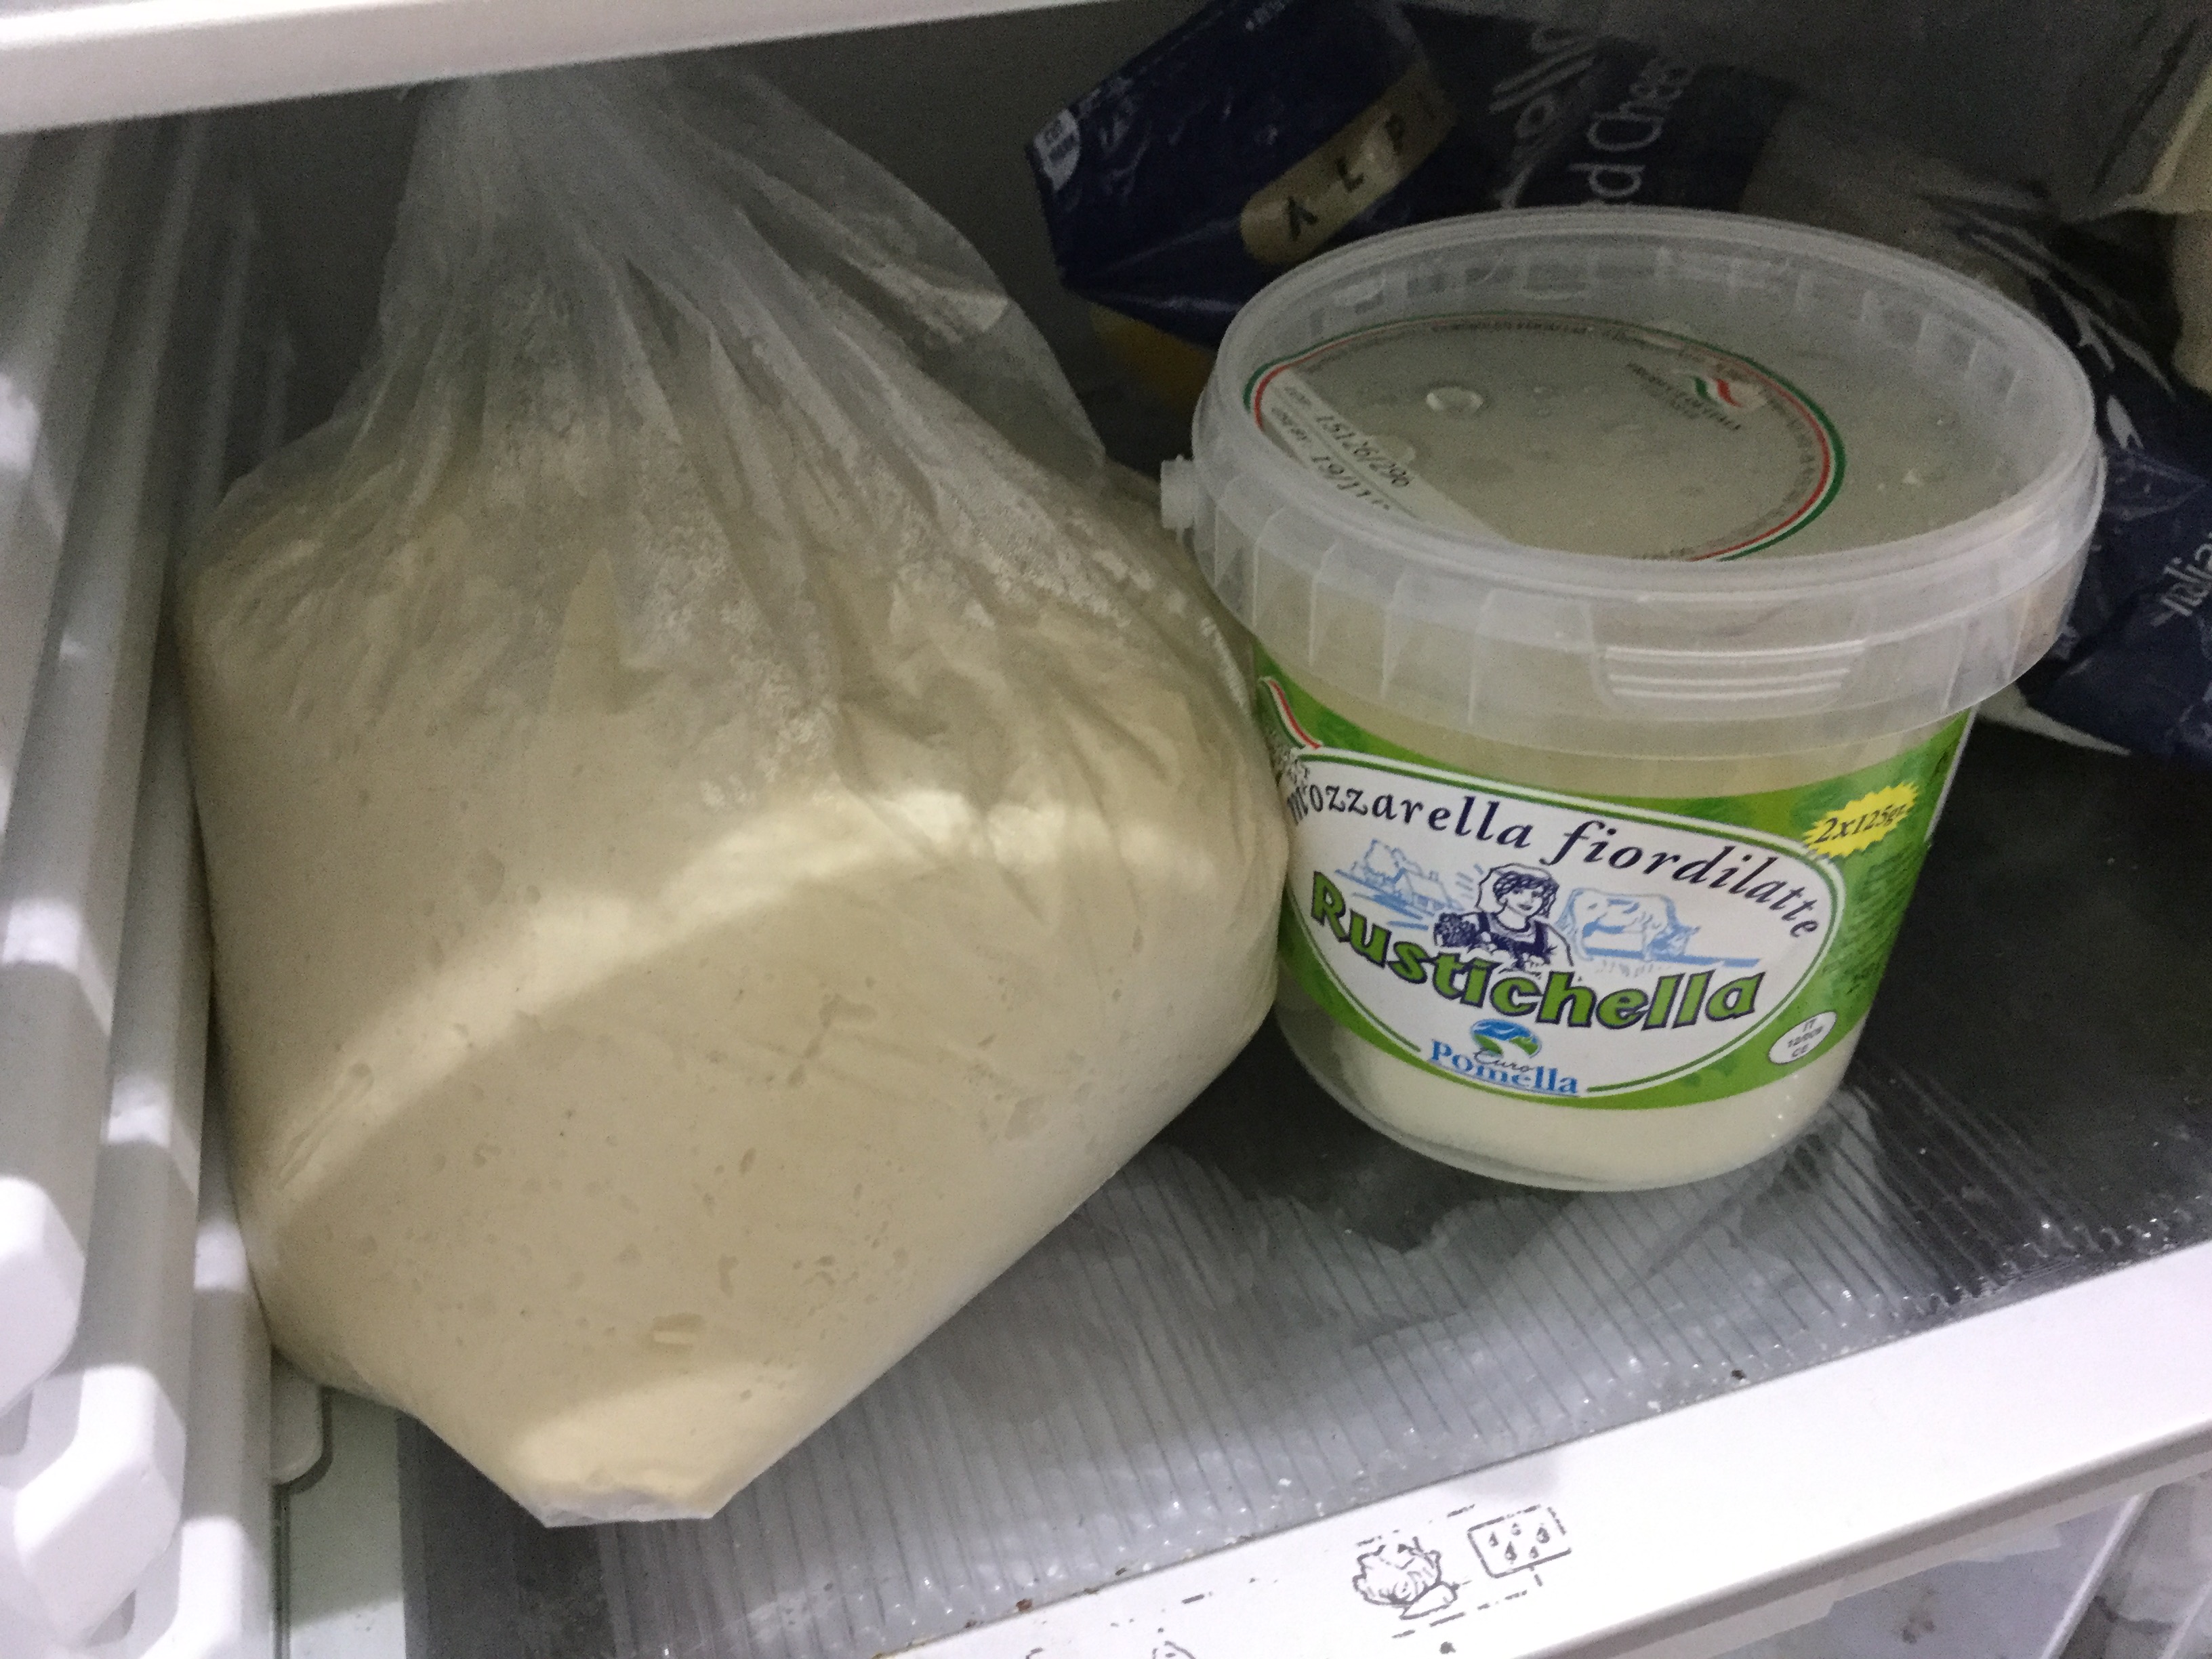
When you wake up the next morning, you’ll find those little yeasties have been doing their thing all night, and your fridge now looks like this (this is a real, untouched photo):
This recipe makes enough dough for two good-sized pizzas, so at this point, you want to take the now risen and VERY sticky dough out of its overnight bag, knead it down a few turns, and divide it into two more-or-less equal parts (the kitchen scale helps here):
If you are only making one pizza today, put the second ball of dough back in its overnight bag and into the fridge to become pizza another day. Take the lucky ball of dough, that gets to be pizza today, and put it in an appropriately-sized bowl with a bit of EVO. Twirl the dough around in the EVO to get it nice and oiled up. Cover that baby up with some plastic wrap and put it in a nice warm place until about an hour and 30 minutes before you plan to bake your pizza.
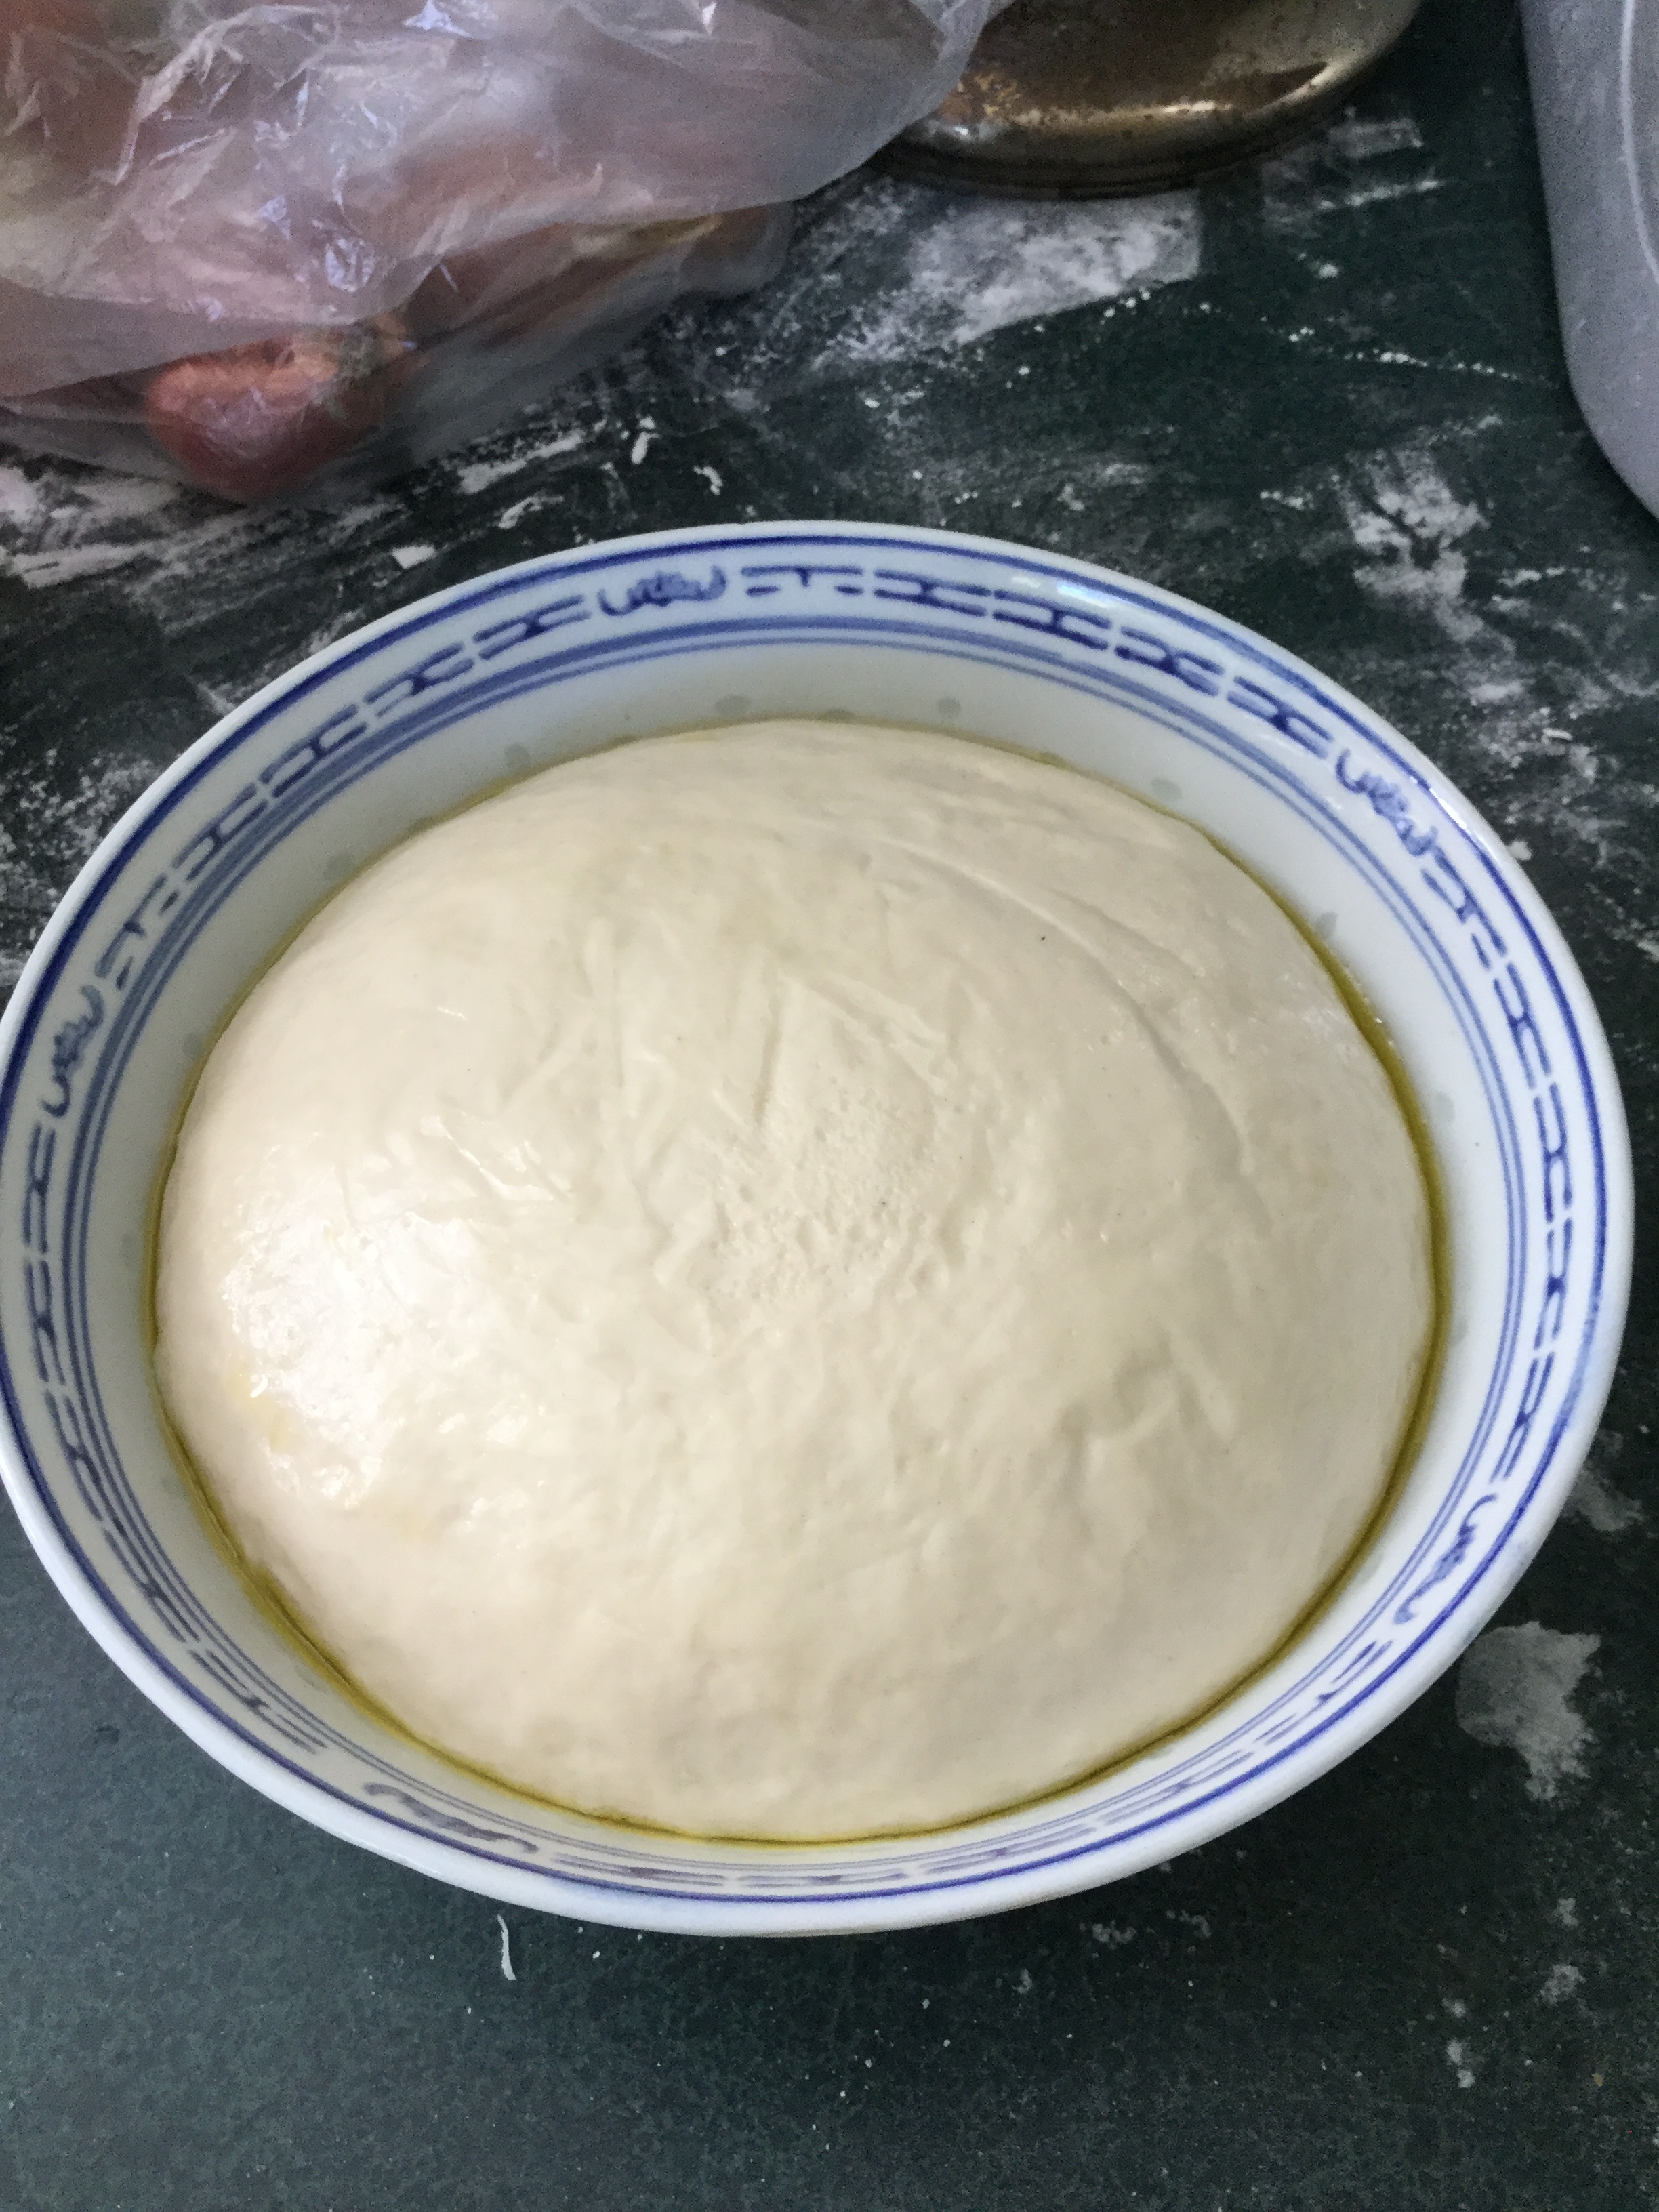
By then, your dough will have risen away happily and look like this:
Turn your oven on to 260C or 500F, or as hot as it will go. Make sure your pizza stone is in the oven, if it doesn’t live there. You want that puppy HOT.
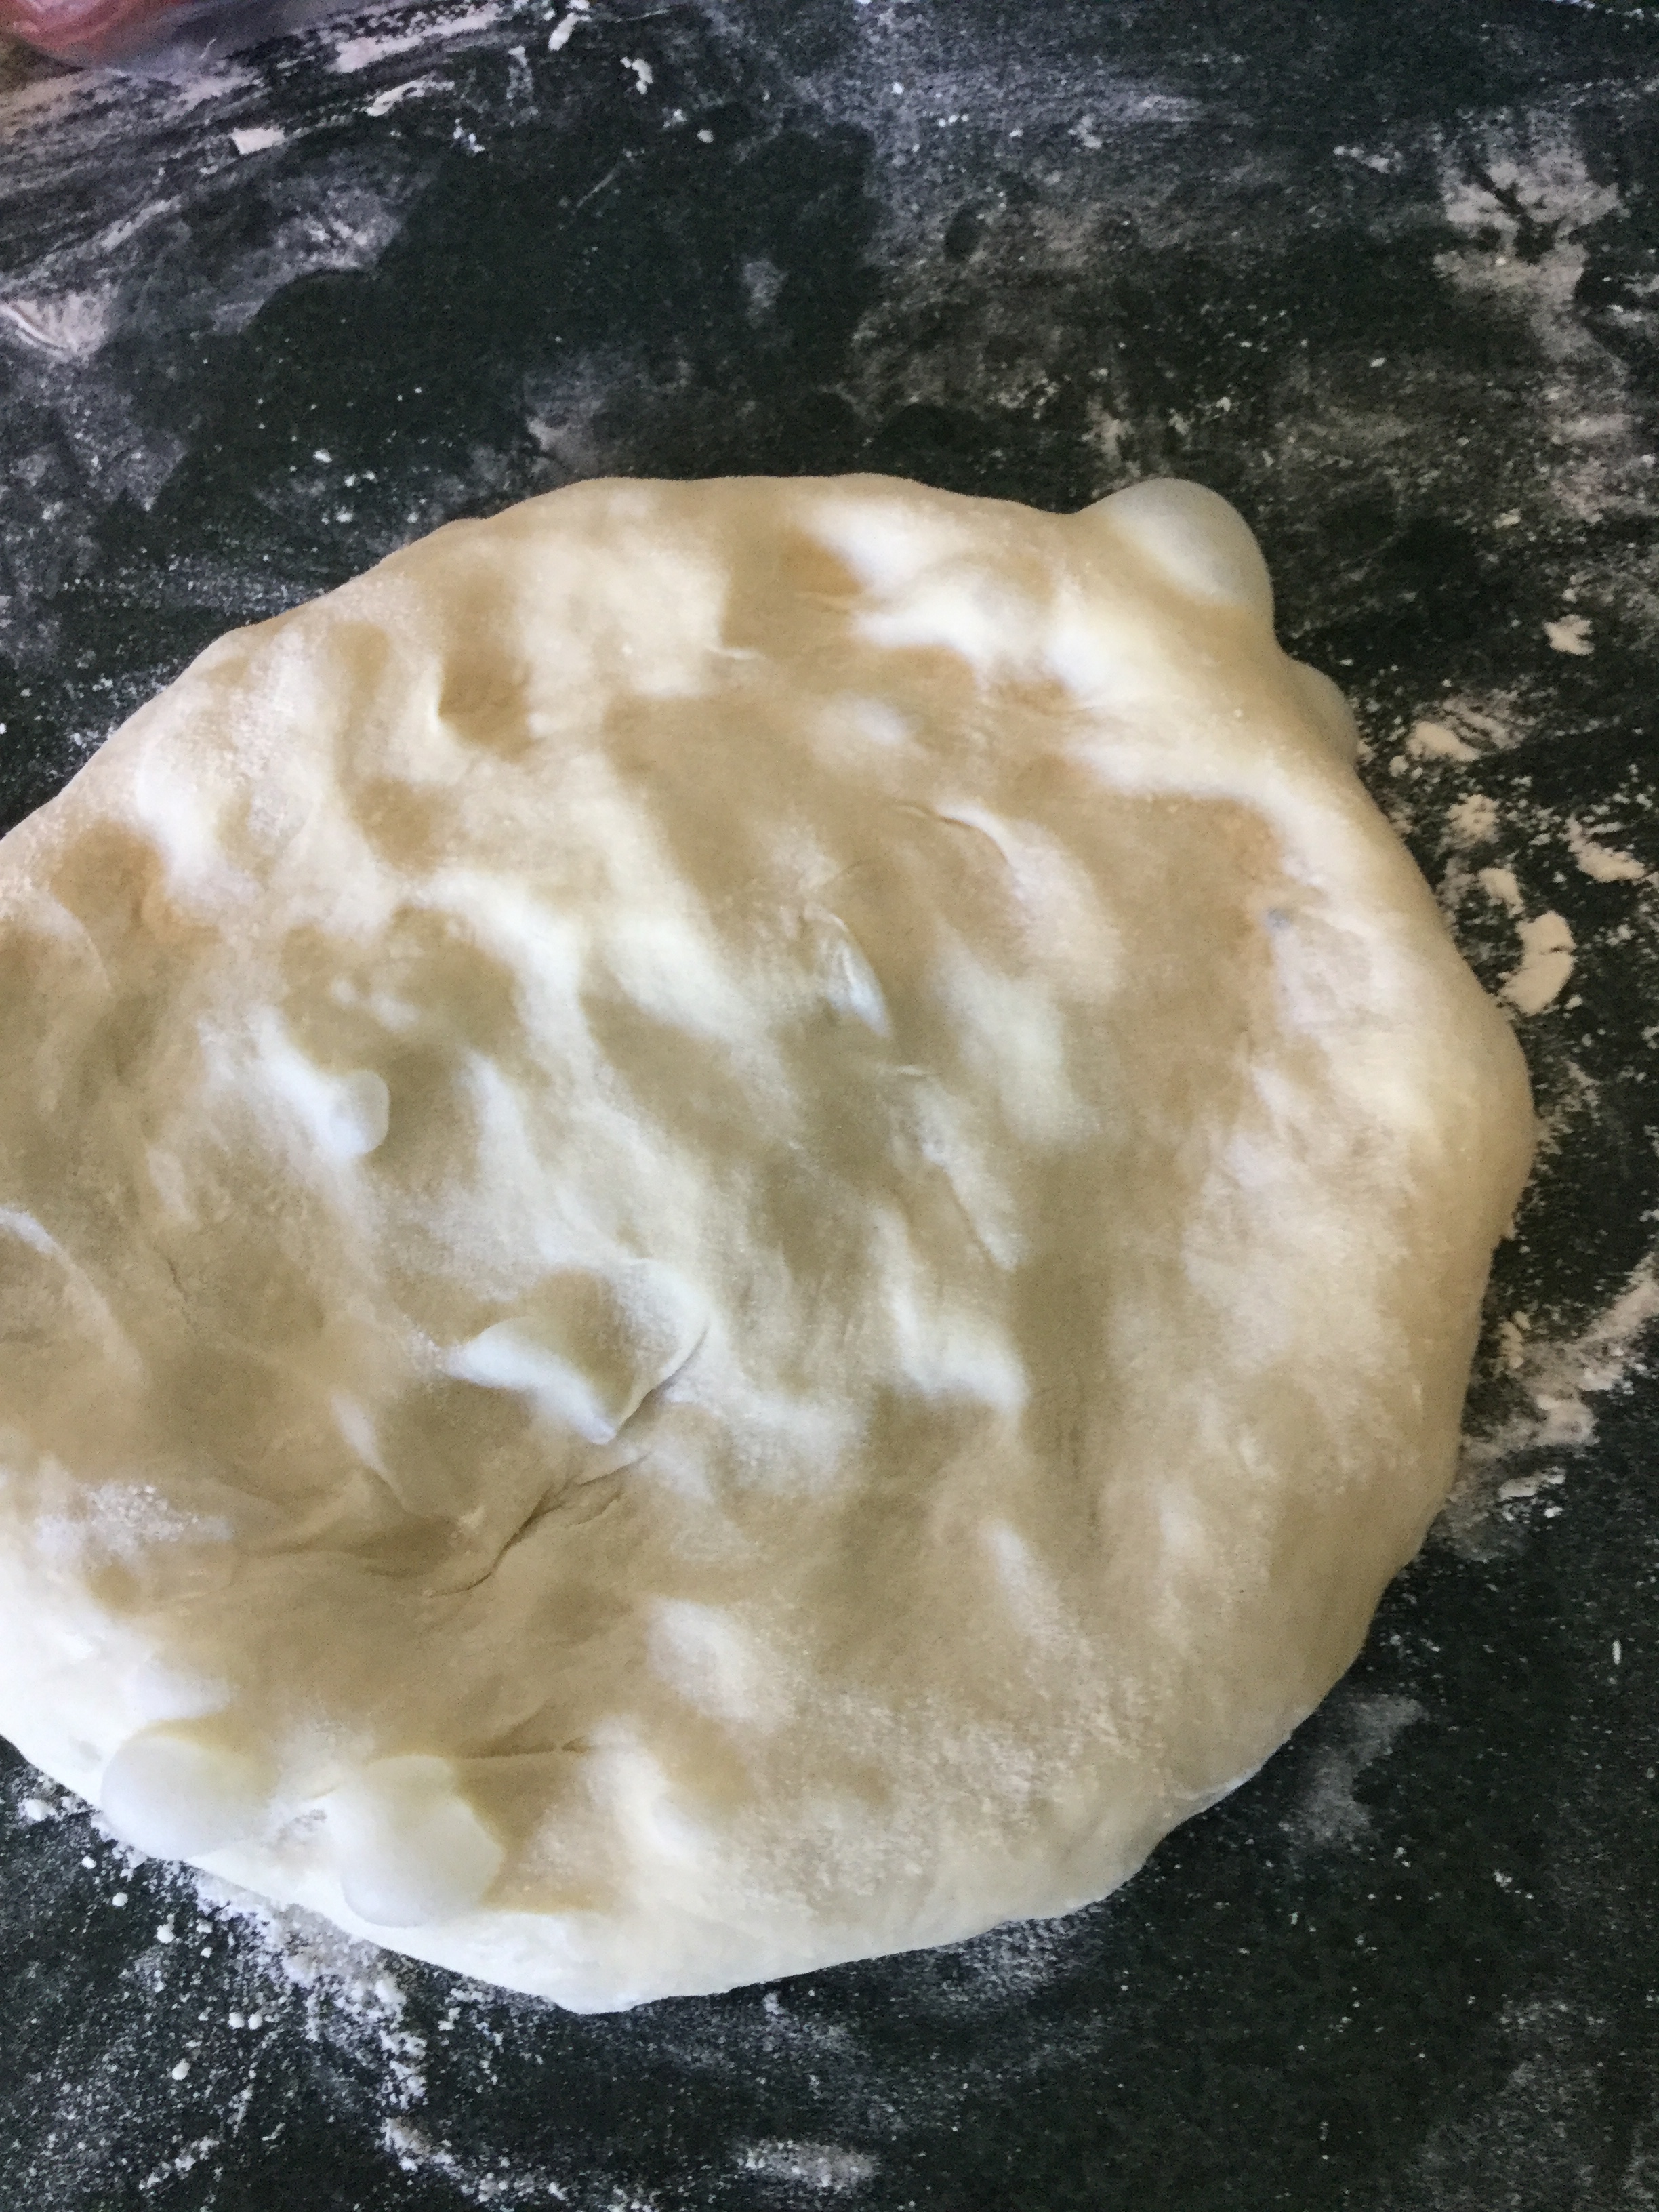
Turn the dough out of the bowl onto a well-floured surface and gently knead it a few more turns, just to incorporate the oil and get it back into a more compact ball. Then cover it with plastic wrap and let it rest for at least 30 minutes, and up to an hour.
Now, it’s time to stretch your crust. Start with your nicely-rested dough and shape it into a rough circle, like this:
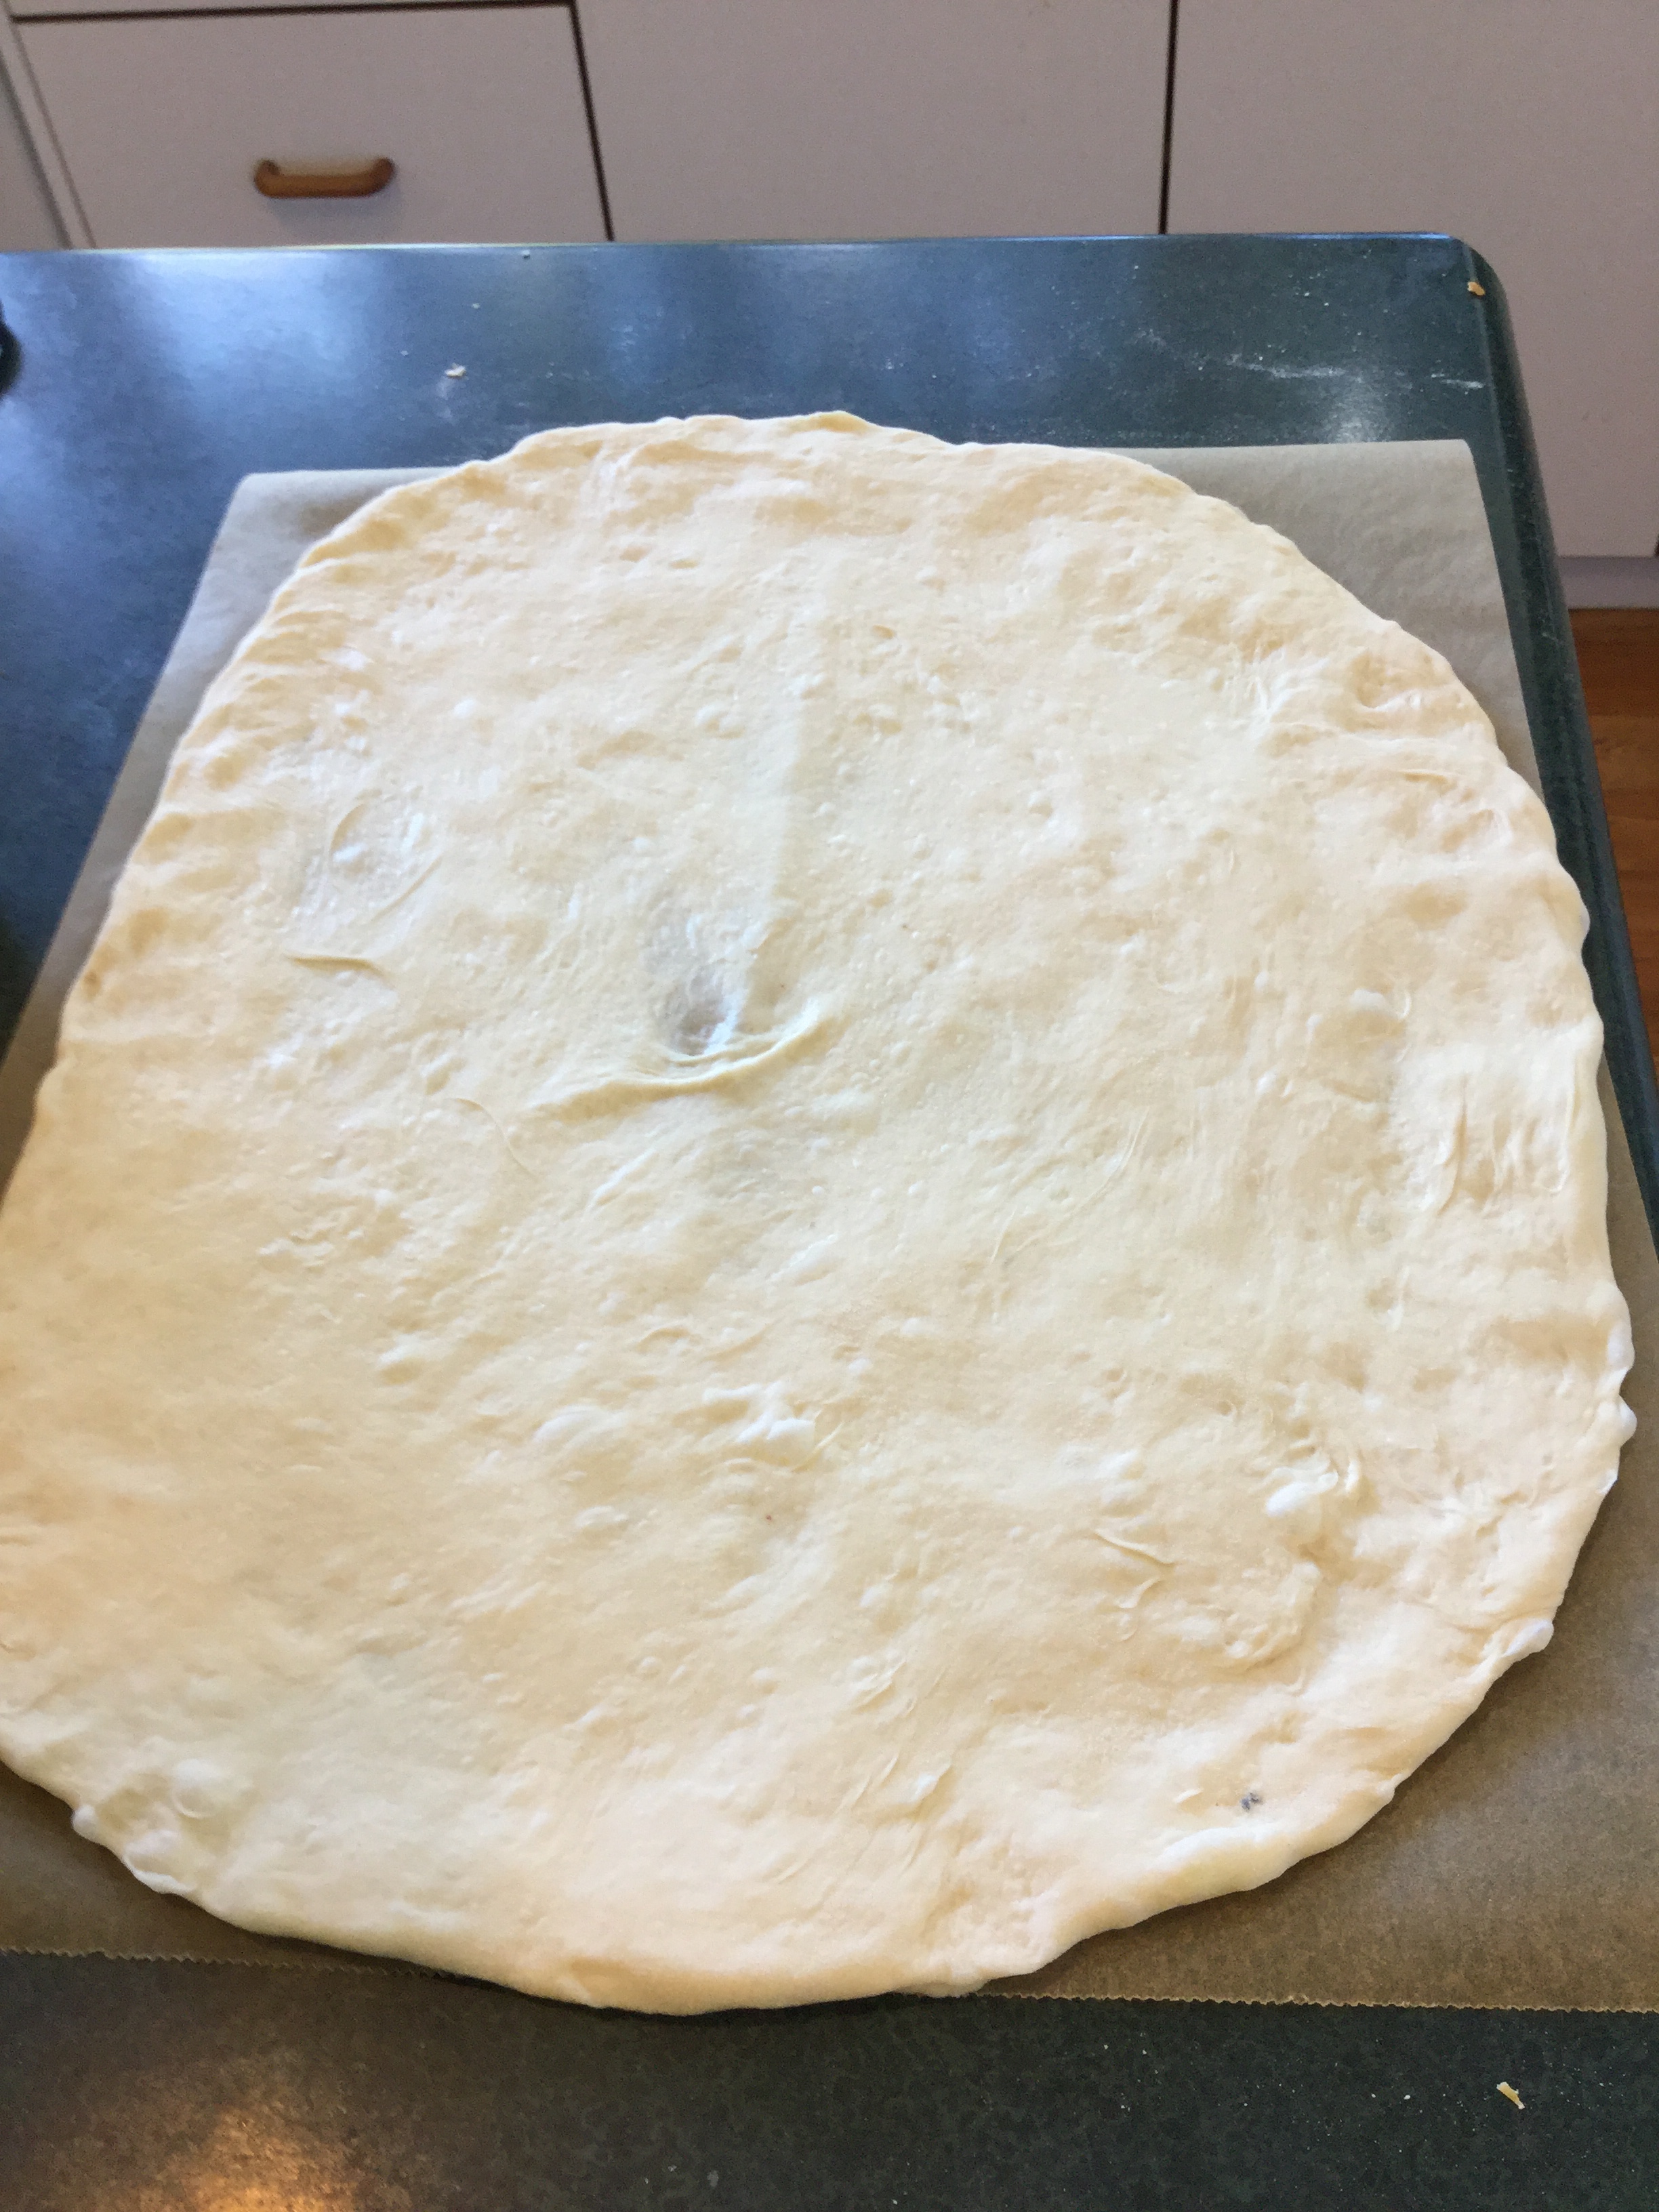
Then move it over to a sheet of parchment. Making generous use of flour, stretch the dough into the appropriate shape and size. Or you can toss it, but if you know how to toss pizza, you probably don’t need my help. If the dough is being stubborn, you can use a rolling pin, but try not to. My oven is tiny, so to achieve maximum pizza surface area, my pizzas are ovally rectangles:
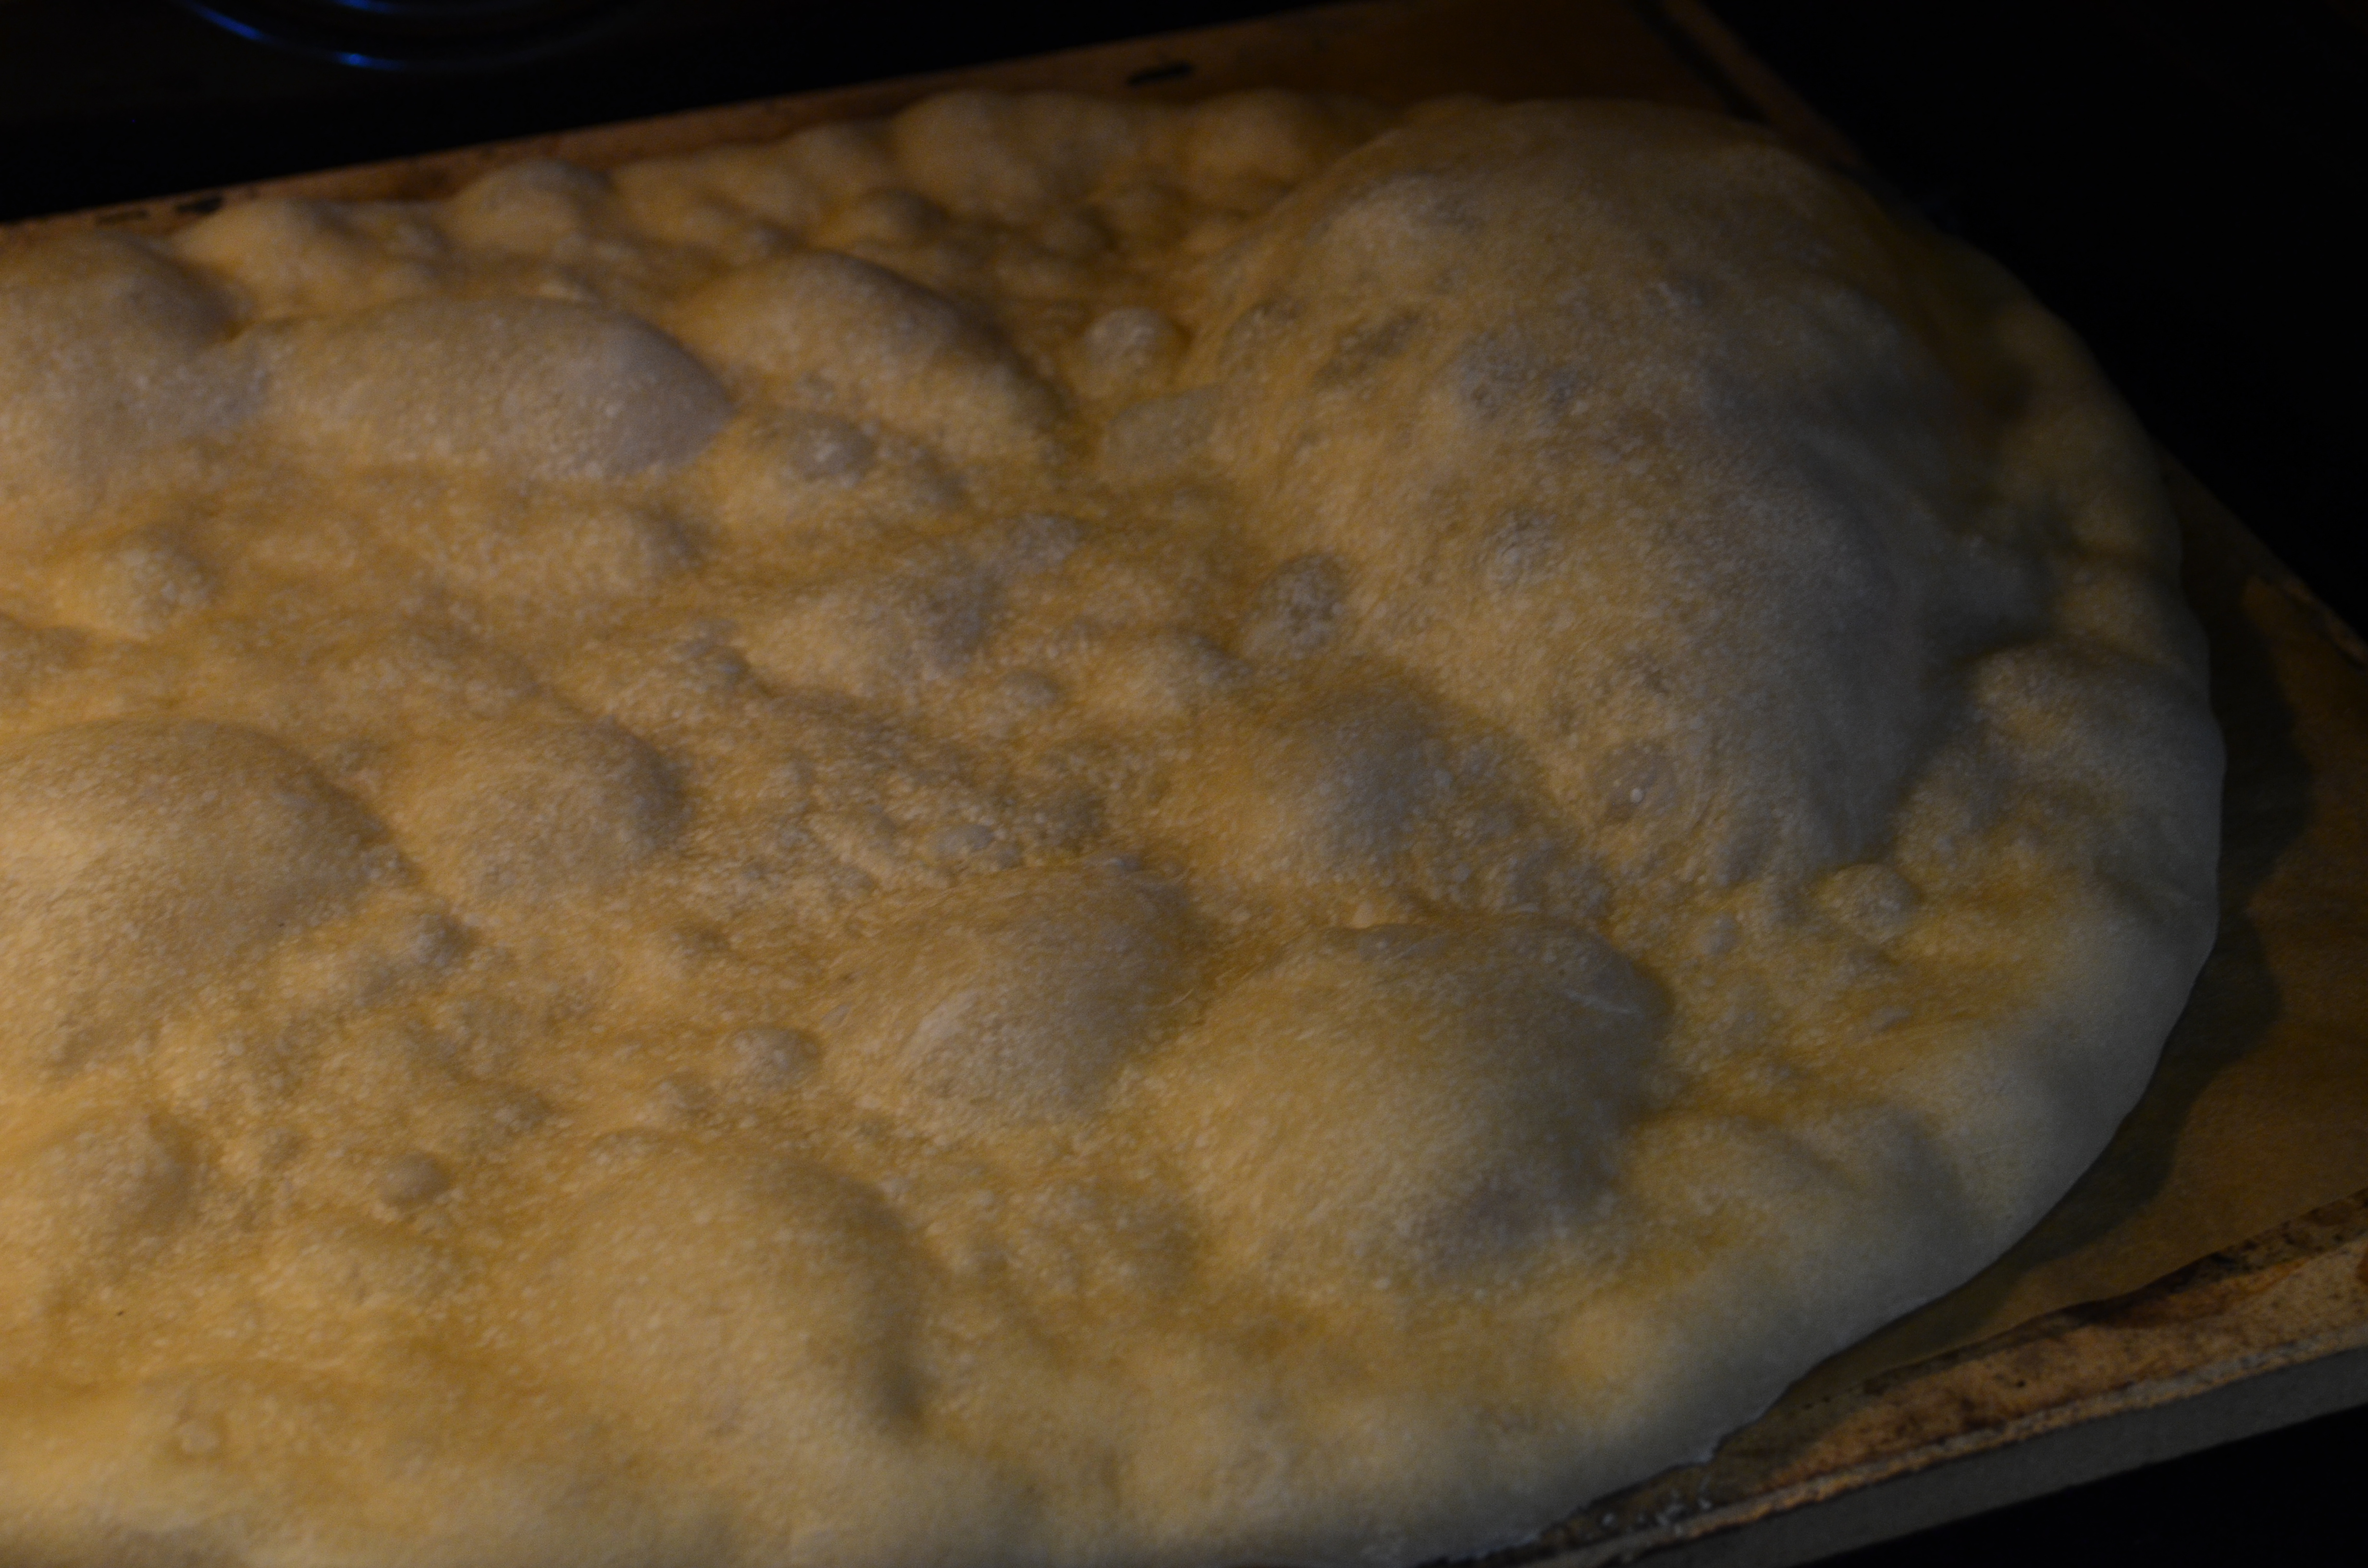
Now it needs to rest again, for 30 minutes or so. And it is ready to bake. I always pre-bake my crusts for about 5 (no more) minutes before I put on the toppings. It keeps the crust from getting soggy. You can brush it with olive oil, but I don’t. Just slip the crust and the parchment on to a flat baking sheet or pizza peel, then directly on to the baking stone. It will get lots of fun bubbles on the surface, but you can press those back down when you take it out to put on the toppings.
After this initial baking, you won’t need the parchment to move the crust around, so just slide it back on the baking sheet or pizza peel and put on your chosen toppings. I usually start with the thin layer of cheese, but you know what you like.
Put the assembled artistry back into the hot oven for another 8 minutes or so.
Let me start by warning that, as much a I love him in SVU, I will not be writing about this guy:
We’re just talkin’ a different sort of Iced Tea here. But he does deserve a shout out.
When it comes to per capita tea drinking, New Zealanders are right up there with the British Motherland. I am an enthusiastic convert to the afternoon cuppa — my favourite is Yorkshire tea with a little milk, no sugar. It is a cup that aspires to be coffee, but without the jittery after effects. I like Earl Grey, too, but with lemon, no milk. My all time personal favourite is Lapsong Suchong, which is the closest thing to non-alcoholic Islay Single Malt. But as my beloved is a strict traditionalist, and since it is he that usually puts the kettle on in the afternoon, my usual is English Breakfast, milk, no sugar. It is important to note that Brits (and Kiwis, in general) believe that strong, hot, very sweet tea, is the cure to whatever ails you. And they’re usually right. I’m not a biscuit dunker, but, Judi Densch’s description of the process of Builder’s tea dunking in “The Best Exotic Marigold Hotel” has me thinking twice.
And, just for the record, an oreo cookie just screams for a glass of ice cold milk. I’m a twist-lick-dunk-dunk girl.
I now drink my tea almost exclusively hot, out of a mug. This is a great departure from the South of my upbringing, where tea is drunk only one way: iced and sweet. This shift doesn’t reflect any dampening of my love of iced tea; rather, it is a function of living in New Zealand, where iced tea is just another sugary drink sold in bottles with strange and unwelcome flavours like peach and mango. In most of the world, outside the Southeastern United States, you can’t walk into a restaurant or cafe, order iced tea, and just assume they know what you mean. You are likely to get brewed hot tea poured over ice with some sugar packets or Splenda on the side.
Even where I have to settle for unsweetened iced tea, it is my restaurant beverage of choice. It is more festive that just plain water, less intoxicating (and usually cheaper) than beer or wine, goes with almost any cuisine, and because you actually pay for it, waiters are less cross if you choose to linger over an additional glass after you’ve finished your meal. It plays the same important social function as that last little bit of wine in the bottle. And if you choose not to drink alcohol, you don’t feel quite so awkward hanging around. I costs next to nothing to make, so everyone wins!
Proper iced tea has three ingredients: water, tea, and optional sugar. A slice of lemon is acceptable, as long as I have the option of picking it out. No ginger. No lemonade. No peach, mango, raspberry, or — please GOD — frappe.
My Grandpa and Grandma Saltenberger had this plastic Kool Aid pitcher and cup set that made the Kool Aid taste even better
I didn’t grow up with iced tea. My family came from Europe via the Upper Midwest, where the whole point of drinking things was, for the most part, keeping warm. Or intoxicated. When we moved to Georgia, where it is hot . . . DAMN hot . . . for at least six months a year, the refreshing beverage of choice at our house was Kool-Aid. The old fashioned kind that didn’t come with sugar. And ours didn’t get sugar. It was, to say the least, tart.
I learned about iced tea from my southern friends, who drank the stuff by the gallons. And iced tea in Georgia is sweet. I mean really sweet. As in make your cavities SING sweet. While the iced tea nation pretty much starts at the Mason & Dixon Line (essentially the border between Pennsylvania and Maryland), the Sweet Tea Nation begins at the Virginia – North Carolina border). If you grew up in Virginia, and you’re accustomed to ordering iced tea and adding your own sugar, you’ll need to change your strategy in the Sweet Tea Nation. Here, tea is sweet. And cold. Even in winter. If you want that other stuff, you will have to ask for it. You will have to say, out loud, in front of God and everybody, ” I would like unsweetened tea, please” and immediately brand yourself as an Yankee. You can also order hot tea, but I won’t promise what you’ll get. It is (sort of) acceptable, and slightly less suspicious, to order half-and-half (iced tea, half sweet, half unsweet).
Now, I know I said I don’t approve of lemon-flavored iced tea, but there is an exception: the Arnold Palmer, which is half iced tea and half lemonade. This is best made with unsweetened tea and real (ONLY real, squeezed) lemonade (not the instant stuff, and not the pub lemonade you get in your shandy). This is not, however, southern. Arnold Palmer is from Pennsylvania.
If you happen to find yourself at Zeb Dean’s Bar-b-que in Danielsville, Georgia, you’ll get: a loaf of Sunbeam Bread (in the bag), a plastic pitcher of sweet tea (you can also get one of unsweetened tea, if you have the courage to ask for it — then you can make your own half-and-half), a serving of “Stew” (aka Brunswick stew, but made with the barbecue detritus instead of the traditional squirrel), a pitcher of Zeb’s peppery, vinegary sauce, and the best damned pulled pork barbecue in the whole wide world. Strictly speaking, however, Zeb’s barbecue is not vegetarian. So this is not an official Kale Whisperer endorsement. But really, if you are ever headed south on I-85, and you eat pork and/or are a slacker vegetarian like me (Shame on you!) it is well worth the 45 minute or so detour. (Sorry, Wee Charlie.)
So, what makes southern sweet tea unique? There are two key factors: the tea, and the sugar delivery system.
First, the tea. Most commercial teas — Lipton, Tetley, PG Tips, etc. — are for brewing and drinking hot with milk. So they are WAY to strong for iced tea. When you chill them, as you must do with iced tea, the tea turns cloudy. Not only does it look awful, but it makes the tea too tanniny. When I was growing up, the mainstream tea companies hadn’t caught on to this yet, so the iced tea brand of choice was Lusianne: “Alway clear as a bell.”
Nowadays, most of the big companies offer special iced tea blends that address the cloudiness issue, but for those who live in non-iced tea cultures, like New Zealand, there is still an alternative to those horrid iced teas in bottles. The answer is sun-brewed tea. I don’t understand the science, but it you brew regular tea in the sun, instead of with boiling water, it doesn’t get cloudy. It works like this:
Sun Tea:
Find a large glass container with a fairly tight lid and fill it with the desired amount of COLD water.
Add 2 or 3 regular teabags (or the equivalent amount of loose tea) per litre (or quart) of water.
Place the jar in the sun for no more than 4 hours (obviously, this only works on sunny days).
Then remove the teabags (or strain out the loose tea) and chill the brewed tea as soon as possible.
Sweeten (or not) to taste. This works with regular or green tea).
The sugar delivery system for proper sweet tea is easy peasy, and absolutely crucial. You can sweeten your sun tea with Sweet and Low or Splenda, but I don’t want to know about it. Unless you like your tea cloyingly sweet, you aren’t going to add that much sugar anyway. You may, however, add artificial sweetener if you send me a doctor’s note. Here’s the process:
Simple Sugar Syrup for Southern Iced Tea:
Put one cup of sugar and three cups of cold water in a saucepan that is high enough not to boil over.
Watch it carefully.
Bring the sugar and water to a boil and AS SOON as the water starts to boil, turn it down to a simmer.
Simmer the water and sugar, stirring constantly, until the sugar has completely dissolved. This usually takes about 5 minutes. Cool for 4 hours.
Done. But,
If you like flavoured tea, you can, at this point, add mint, basil, a little lemon or orange peel, or fresh ginger — whatever flavour you like — and steep until the syrup is cool. Again, about 4 hours. Pour the syrup through a sieve, and press the flavouring to get out all the essential oils and yumminess. This way, your sugar syrup will taste better and last a long time in the fridge without moulding.
You can use the mint syrup to make that other Southern Classic, the Mint Julep, which involves: a mint julep cup (or an old fashioned-sized glass) filled to the brim with crushed or shaved ice to which you add a TBS (or two if you have a sweet tooth or don’t like whiskey), and 1 1/2 jiggers of whiskey — Bourbon or Tennessee mash are traditional, but mild blended scotch works too. What you get is a sort of alcoholic shave-ice. I haven’t tried this with Single Malt because, why would you? But you can try it if you want.
Basil syrup makes a nice change, but then you are absolutely not allowed to call it a Mint Julep. Really, though, the cocktail possibilities are endless. Once you try it, you won’t want any other cocktail in the heat of summer, except, perhaps, a nice G & T (with bitters).
Mashed potatoes, mixed with other vegetables, make terrific casseroles that can be either mains or sides. One of my all time favorites, and a regular at holiday dinners in our family, is Rumpledethumps (which is also known as Colcannon or Bubble-and-Squeek, but Rumpledethumps is the most fun to say out loud).
For years, I used the Rumpledethump recipe from Sundays at Moosewood Restaurant (Touchstone, 1990). They suggest a combination of white cabbage, broccoli, and leeks. These are yummy, and make a good, traditional side dish. They are really good with turkey gravy. But I wanted something livelier that could stand-alone as a vegetarian main.
I settled on kale, cauliflower, and leeks. The kale adds texture and a ton of flavor, the cauliflower balances that out with a milder, brassica flavor, and the leeks add a nice sweetness that balances out the slightly bitter kale. The Moosewood recipe uses cheddar cheese, and that works fine with the kale, too. But I prefer something nuttier and more assertive – a Gruyere or Parmesan. Gruyere can be hard to find and, in New Zealand, quite pricey, so my go-to cheese is a mixture of parmesan and cottage cheese.
The star here is the kale. For a recipe like this, I like it cut into thin ribbons and braised. Here’s what I do:
Start with a large bunch of kale, roughly 1.5lbs/1kg
Take the tough central stems out of the kale (I just grab the stem at the end and strip it off, like you would strip the leaves off a tree branch; you can also cut it out with a sharp knife or scissors), and slice into thin ribbons – no wider than 6mm/.25 inch. Rinse the ribbons several times in cold water to get off any sand, then let them drain in a colander.
Heat a Tablespoon of olive oil. When it is shimmering, add a clove or three of garlic, some hot pepper flakes if your like, and sauté for just a few seconds
Add the kale ribbons, with whatever water is clinging to them, to the hot oil with a sprinkling of salt. You’ll probably have to do this in batches. Just add a new handful as the previous batches wilt. You might need to add a pinch of salt to help it wilt along. When all the kale ribbons are in and wilted, sauté them a bit longer, just to ensure that they are all coated with oil and fully wilted.
Add about 120ml/4 fl.oz. braising liquid of your choice. I like red or white wine, but vegetable broth, potato cooking water, or just plain water will work too. You can even use chicken broth, just don’t tell me about it.
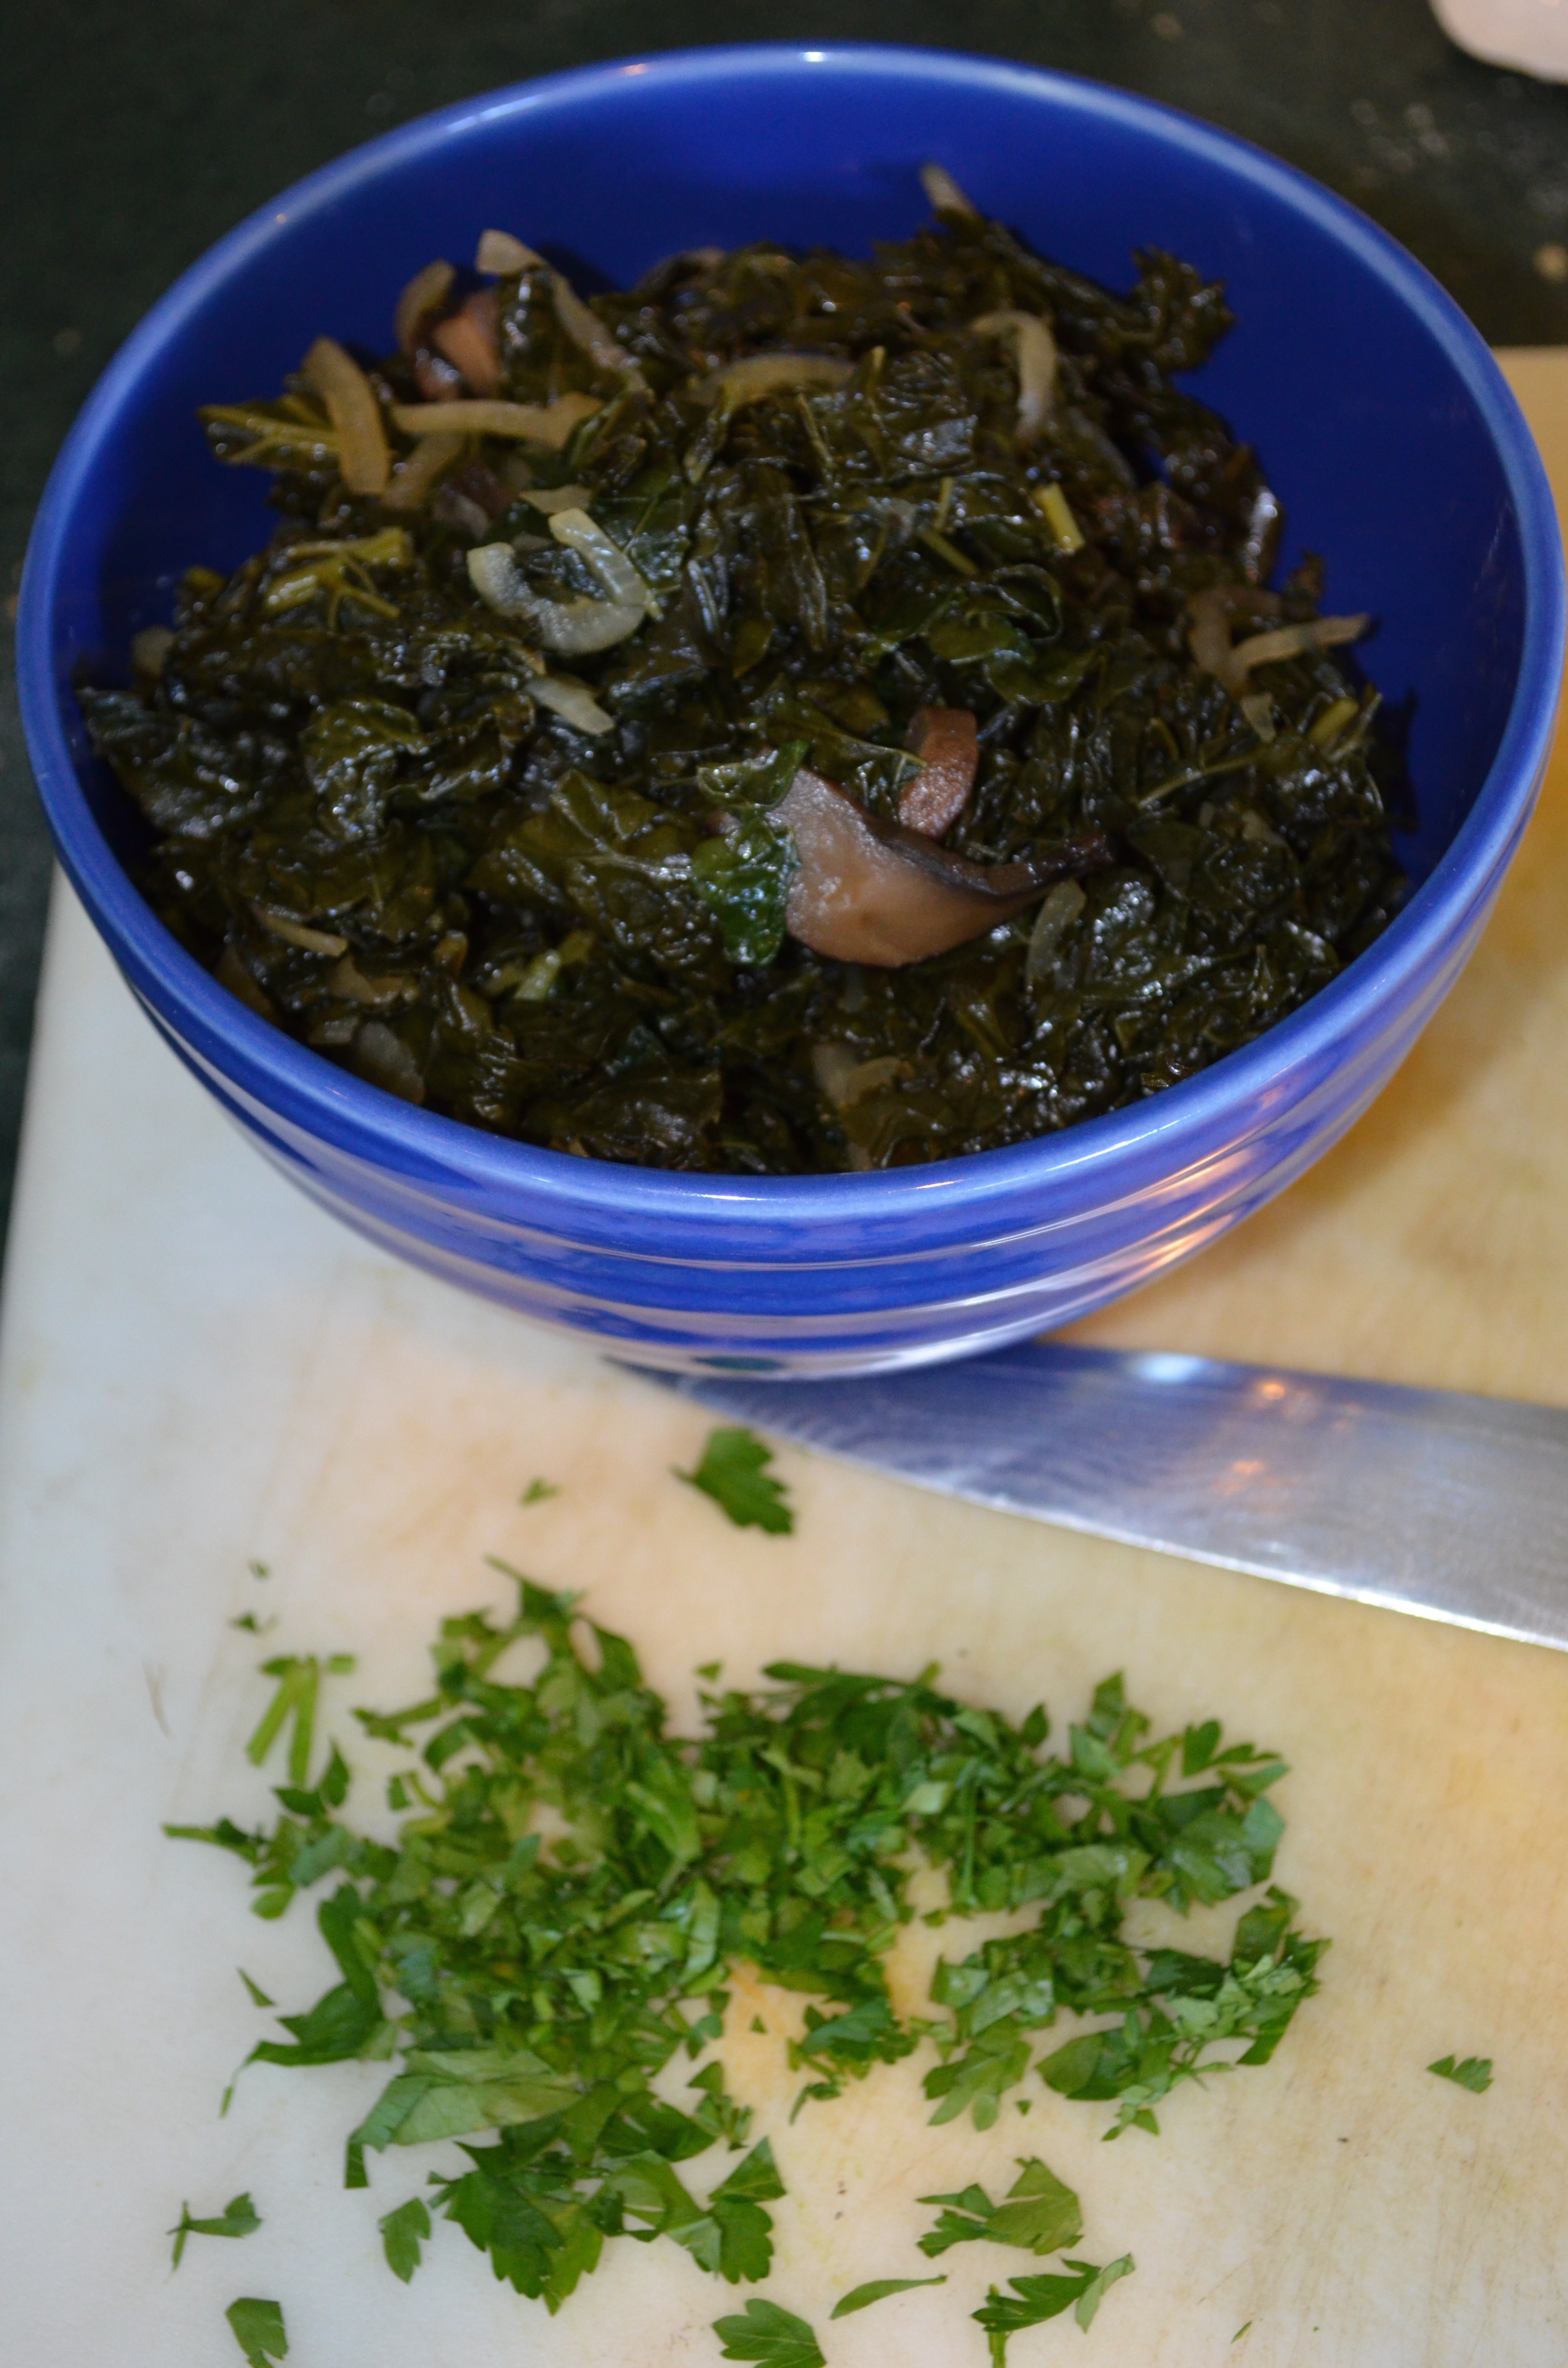
Other kale gurus will tell you to just braise it until its crisp-tender, but crisp tender kale still tastes raw to me. I braise mine for about 15 minutes, until it has turned a nice, dark green and is tender, but a bit chewy. Add more liquid if it gets dry. Season it with salt and pepper. Toss in the juice of a lemon or a teaspoon of white wine vinegar, or to taste. It ends up looking something like this:
You can use this kale for all sorts of things. Add it to marinara sauce for pasta. Toss it with chunky pasta (like penne) with a little high quality olive oil, chopped raw tomatoes, and toasted pine nuts or walnuts — This doesn’t need cheese, so it makes a nice vegan option. If you really need cheese, parmesan is good and gorgonzola is better. Use it to doctor up commercial bean and lentil soups. And, of course, it is an awesome pizza topping!
For the Rumpledepthumps, you’ll need:
6 cups of diced potato (I like a mix of floury and waxy; leave some of the waxy potatoes unpeeled. If you are a baked potato fan, by all means, leave some of the flour potatoes unpeeled), cooked until tender (save some of the cooking water) and mashed with:
2 TBS/25g butter or oil
2 oz/125g cottage cheese (large curd is best)
1 cup / 250 g mild white cheese (Monterey Jack or, in the Southern Hemisphere, Egmont works great here)
1 TBS Dijon or coarse ground mustard
1 large bunch of kale, preferably lacinato or blue / Russian, braised as per above (Curly kale is hard to cut into ribbons, but if that is all you have, you can chop it fairly fine — in this case, you’ll need to wash it first.
½ medium head of cauliflower, broken into small flowerets and lightly steamed
1 large or 2 small leeks, julienned or thinly sliced and sautéed in butter or olive oil until it is translucent. For a slightly sweeter, richer flavor, you can let the leeks caramelize a bit.
Mix the Kale, cauliflower, and leeks together with the mashed potatoes/cheeses; add a bit of potato cooking water or braising liquid if it seems dry.
Turn the whole yummy, gooey mess into a buttered 2qt/ 1.8 l casserole. Dot with a little more butter or olive oil, sprinkle with about 1 oz / 25g of shredded parmesan.
Bake in a 350F/180C oven until it’s piping hot and the cheese is lightly brown. That will take about 15 minutes if everything is fresh off the stove. Longer if it has cooled. This is even better assembled a few hours (or even a day) ahead. The flavors blend nicely, that way. It will take longer to reheat, and you’ll want to start off with it covered with foil: say, 15 minutes with foil, and 15 minutes without.
For a vegan/dairy free version, you can make a cream sauce for the kale:
Heat 2 cups of vegetable stock until it’s hot but not boiling (2 minutes on high in the microwave)
sauté a small shallot or 1/2 a small oinion, finely chopped, in 3 TBS olive oil or margarine (if you must) until translucent.
Whisk in 2 TBS regular flour and 2 TBS nutritional yeast and cook, stirring constantly, for a couple of minutes. It should be the consistency of wet sand.
Pour in the vegetable stock all at once and whisk like crazy until it is smooth. Then, bring it to a simmer and cook for a few minutes to let it thicken.
Add the creamy sauce to the kale, leave the cheese out of the potatoes (they might need some extra cooking water to get smooth), and proceed with the rest of the process. This version is good topped with a handful of whole wheat breadcrumbs and some finely chopped walnuts tossed with some olive oil and your favourite chopped herbs (rosemary, thyme, and chives are nice)– these will get nice and toasty while the Rumpledethumps bake.