Making your own pizza crust has numerous advantages that you’ve heard dozens of times before: its cheaper than restaurant pizza, it doesn’t have lots of baddititives, you can control the fat, salt, and sugar content, and you can top it with whatever you like. Even potato chips and pickles.
It is also fun and rewarding.
And if you serve it to your non-pizza-crust making friends, they will say “ooh and ahh” (because they will be too busy chewing to say more), and everyone will think you are very clever, indeed!
I have settled on a few basic things that you must remember when making your own version of perfect pizza crust:
- You can make pizza crust at the last minute, but you cannot make perfect pizza crust at the last minute. You must plan ahead, at least 24 hours. They key to pizza crust that is the perfect combination of blistery, crispy, and tangy is time. But it takes less than five minutes to set the dough up, and then it just sits happily in your fridge for a day or two. Then, on the day you are planning to bake it, take the dough out early in the day and let it lounge around in your kitchen until it looks like a science experiment. This was, until recently, the greatest barrier to my achieving pizza crust nirvana.
- Use plain old unbleached all-purpose flour. Bread flour has too much gluten and will make your crust harder to stretch and tougher. Fancy pizza flour blends are not worth the extra cost. And weigh your flour. That way the ratio of dry to wet ingredients will always be right.
- Stretch your pizza dough onto a sheet of parchment or baking paper, and let it rest there. When its ready to bake, you can just shift the paper on to a baking sheet or pizza peel, and shift it directly onto the pizza stone. Don’t let anyone persuade you that you can do the same thing with cornmeal. It will end in tears. And who wants uncooked cornmeal all over their pizza crust?
- Use a pizza stone, or baking tiles. The key to perfect pizza crust is to cook it fast at very high heat. If you don’t have a pizza stone and are too poor to go to the building supply store and buy a few unglazed ceramic tiles, you can start the pizza on a baking sheet and the transfer it midway through baking directly on to the oven rack. I leave my pizza stone on the bottom rack of my oven all the time.
So, here’s the drill:
Start by putting 1 teaspoon (5 ml) of active dry yeast in 1 1/4 cups (355 ml) warm (verging on hot) tap water. Don’t use quick rise (bread machine) yeast. Set it aside and let the little yeasties wake up and start farting. After a few minutes, it will look like this:

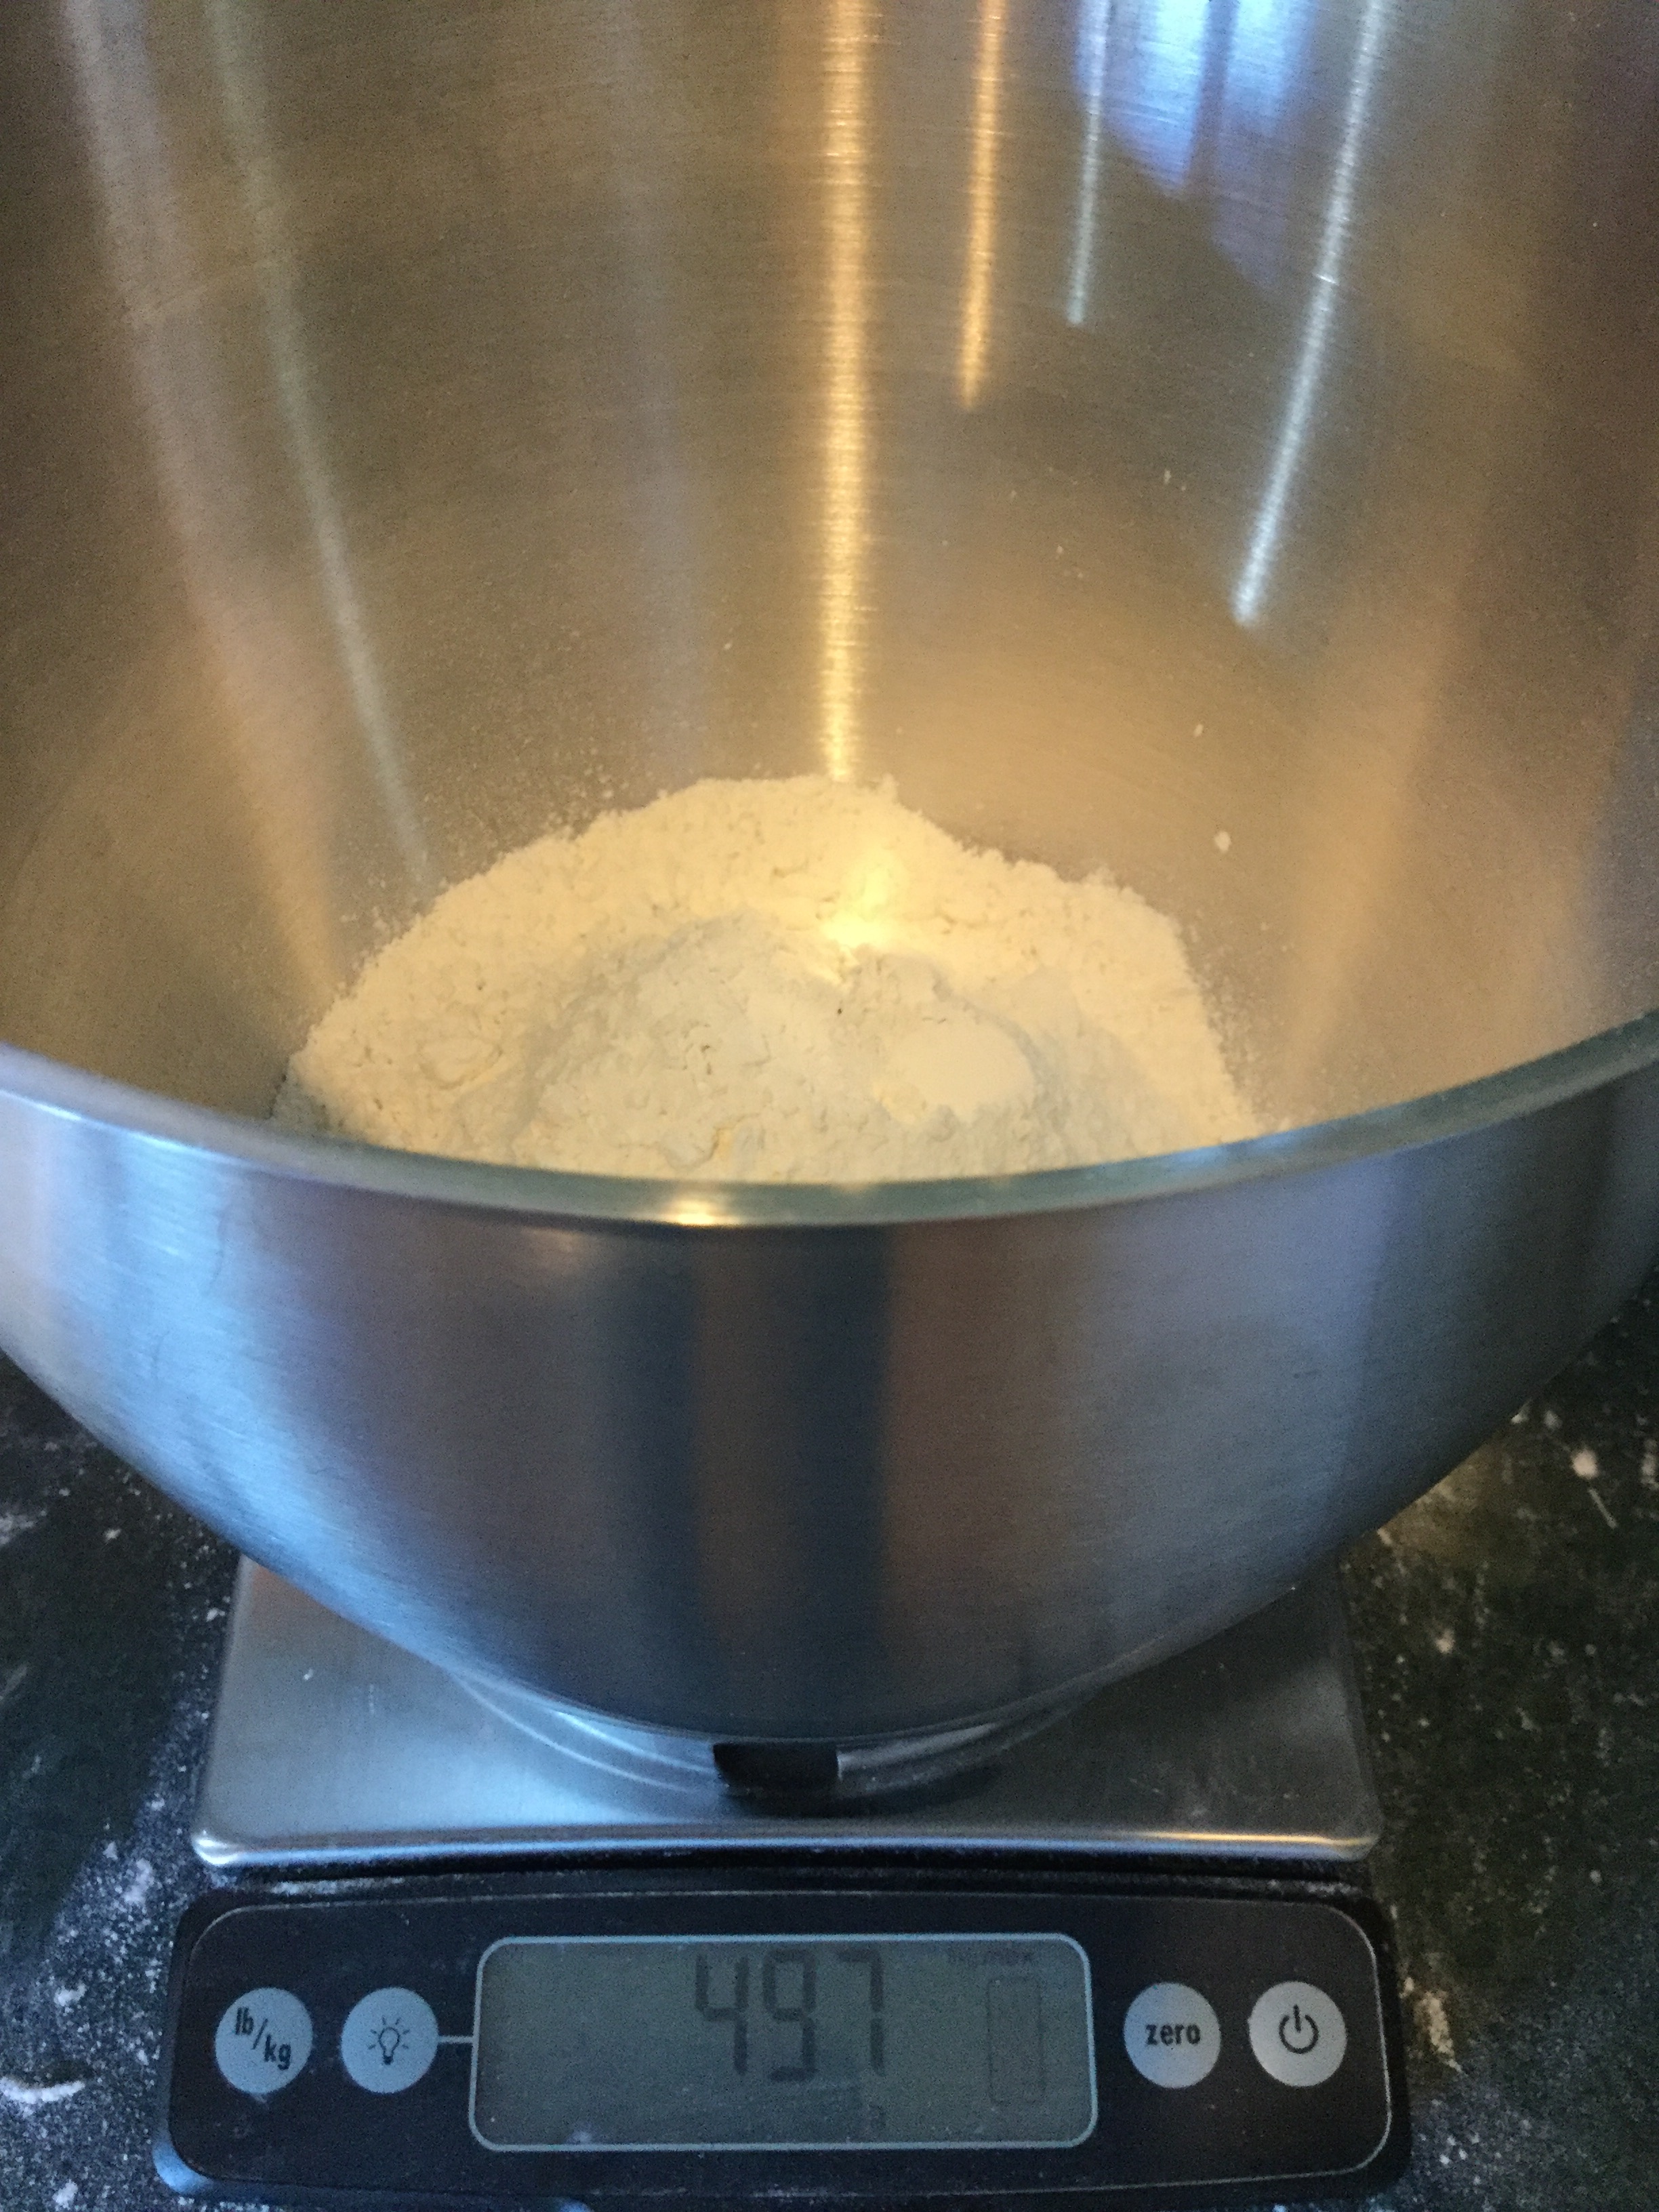
Measure 497 grams of all purpose flour into the bowl of a standing mixer or food processor. That’s 3 1/2 cups if you don’t have a kitchen scale.
Add 1 1/2 teaspoons (7.5 ml) salt (I used pink salt here, but kosher, table, or fine sea salt work just as well)

When the yeast has demonstrated its liveliness, add 2 Tablespoons (30 ml) of extra virgin olive oil. You’ll end up with a bubbly concoction that looks like this:

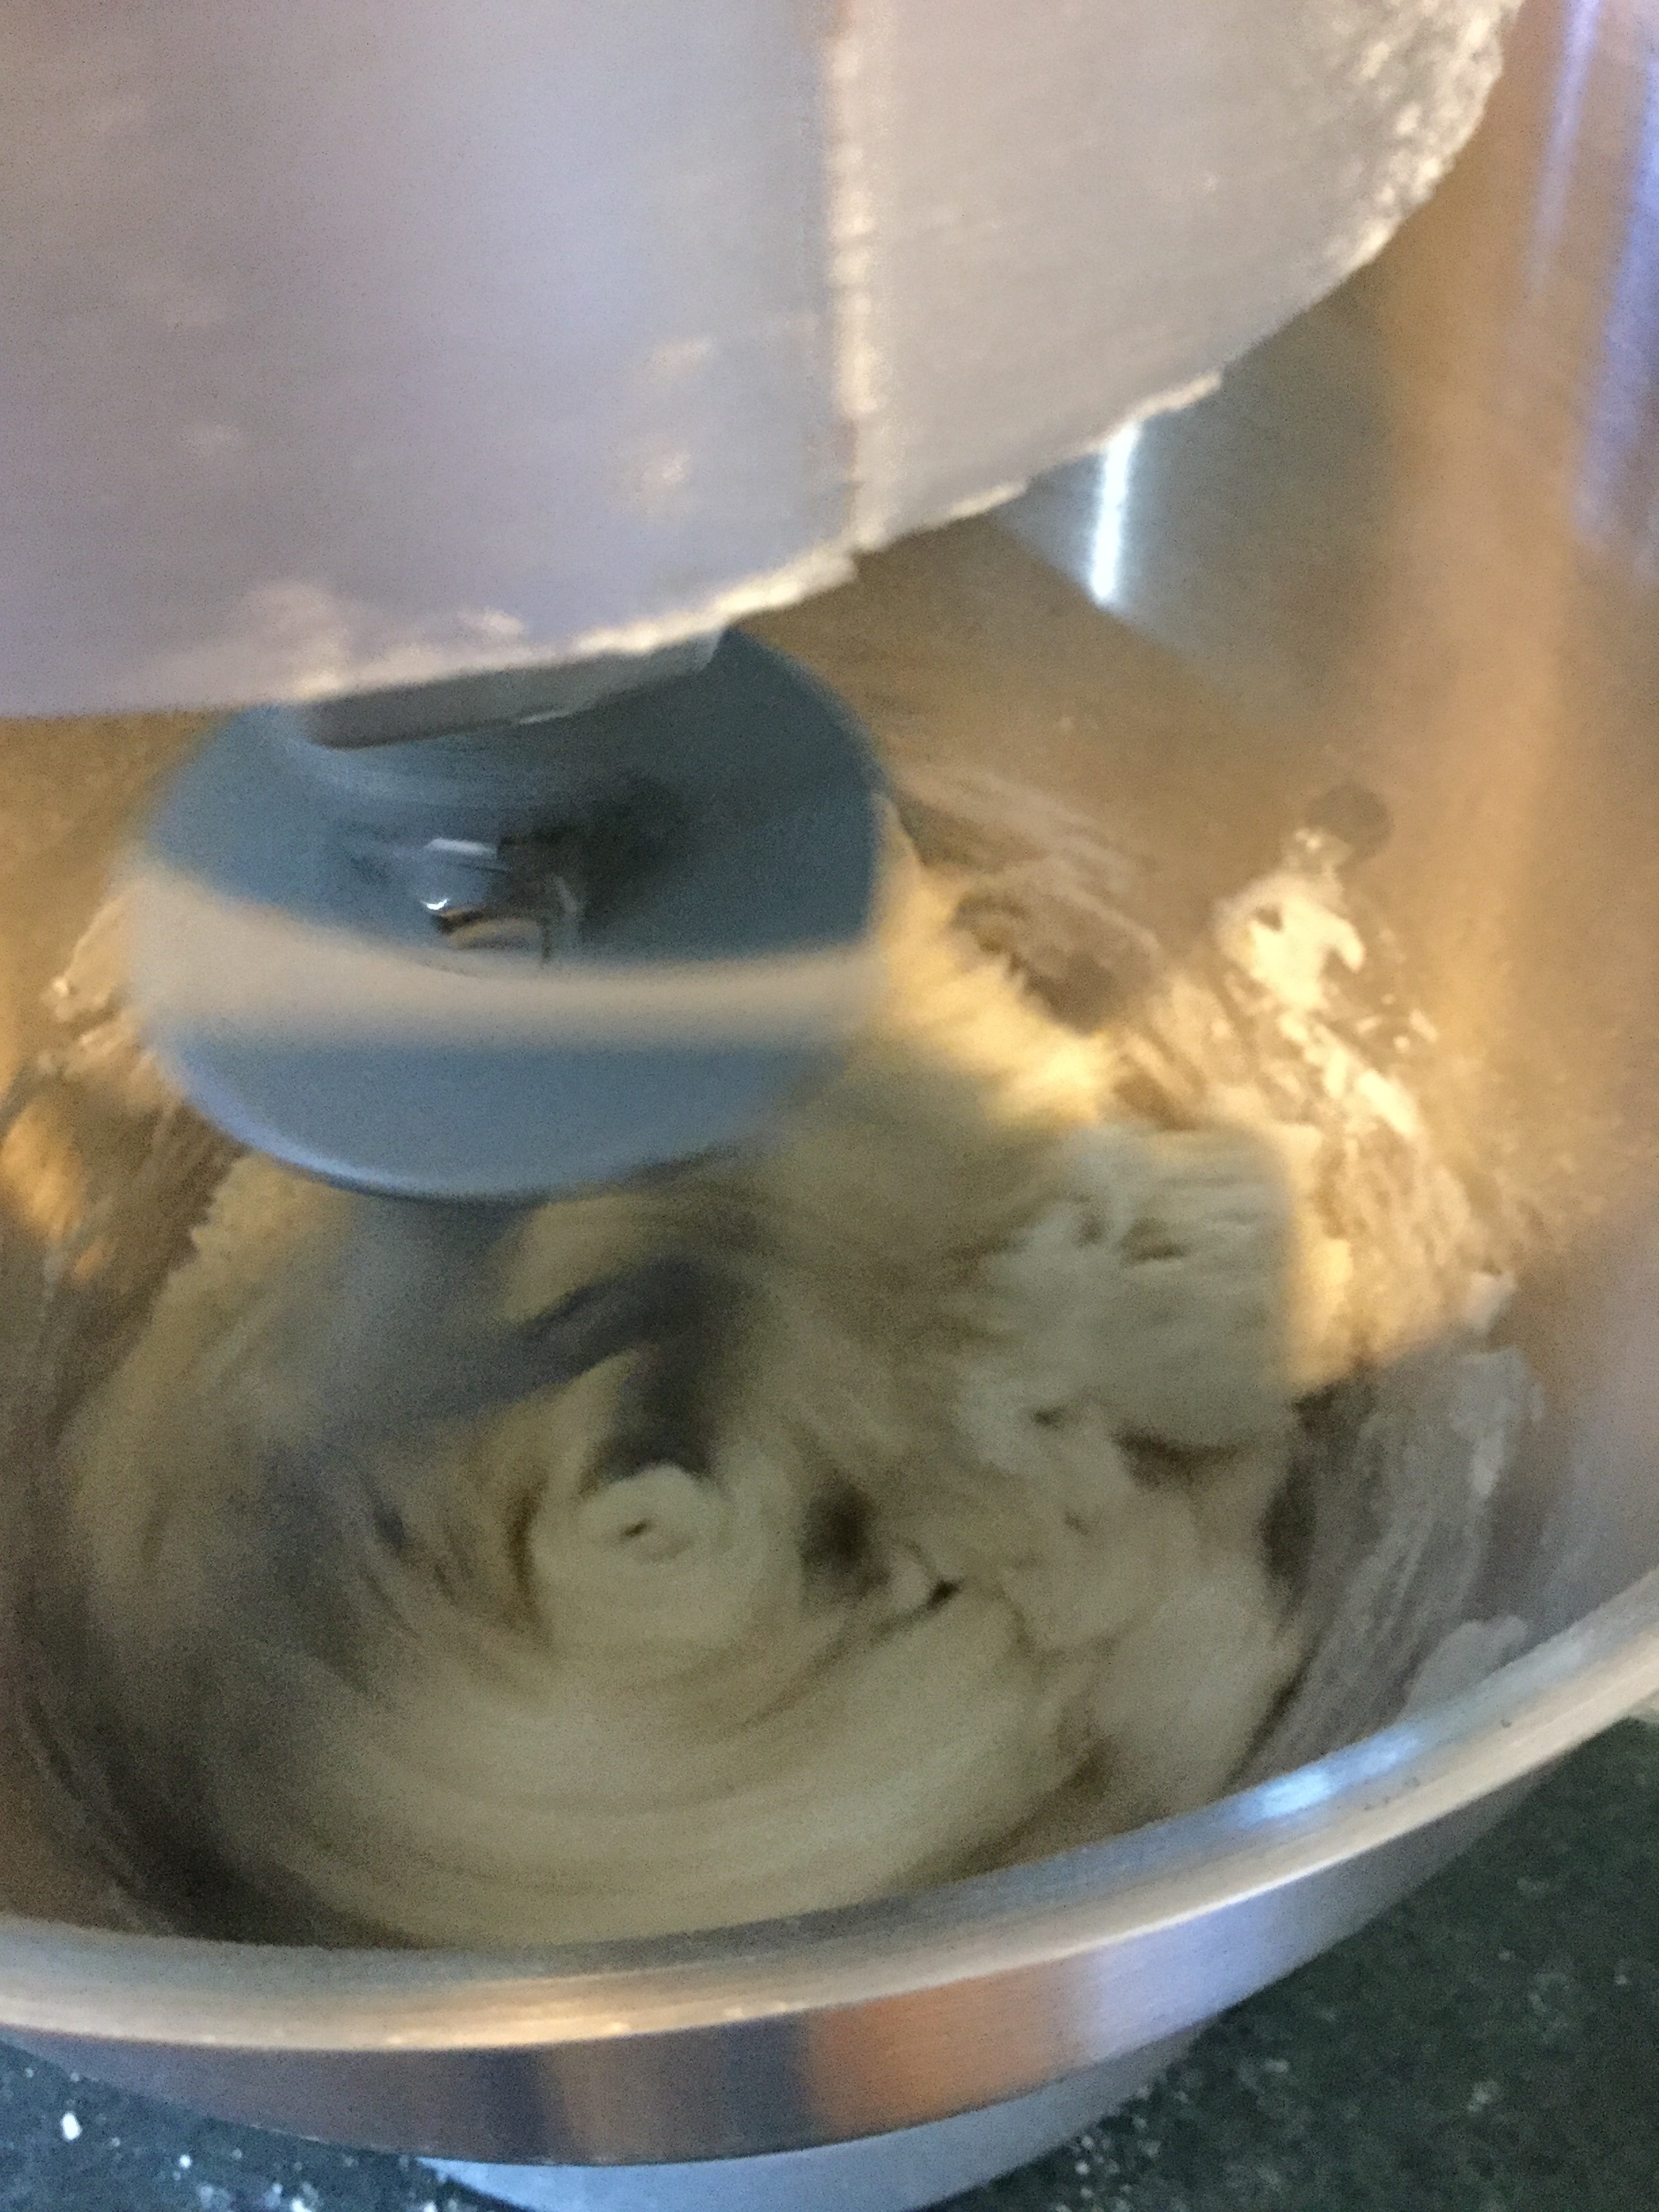
Attach the paddle to your mixer (or the metal blade, if you are using a food processor) and run, or pulse it for a few seconds to incorporate the salt and flour. Then, gradually (but not too gradually) pour in the water/yeast/EVO mixture.
Some recipes will tell you to add the flour to the liquid, but I find adding the liquid to the flour just works better.
Let the mixer run until the dough starts to come together into a shaggy glob. It won’t really come together in a smooth ball — if it does the dough might be a bit dry. It should pretty much clean the sides of the bowl, though.

At this point, you can take the dough out of the bowl and put it on a well-floured surface. It will look a mess:

Now, gently knead the dough for just a few turns to coax it into a smooth, but still slightly sticky ball:


Put your lovely batch of pizza dough into a plastic bag and pop it into the fridge, like this:

Go to bed.
When you wake up the next morning, you’ll find those little yeasties have been doing their thing all night, and your fridge now looks like this (this is a real, untouched photo):
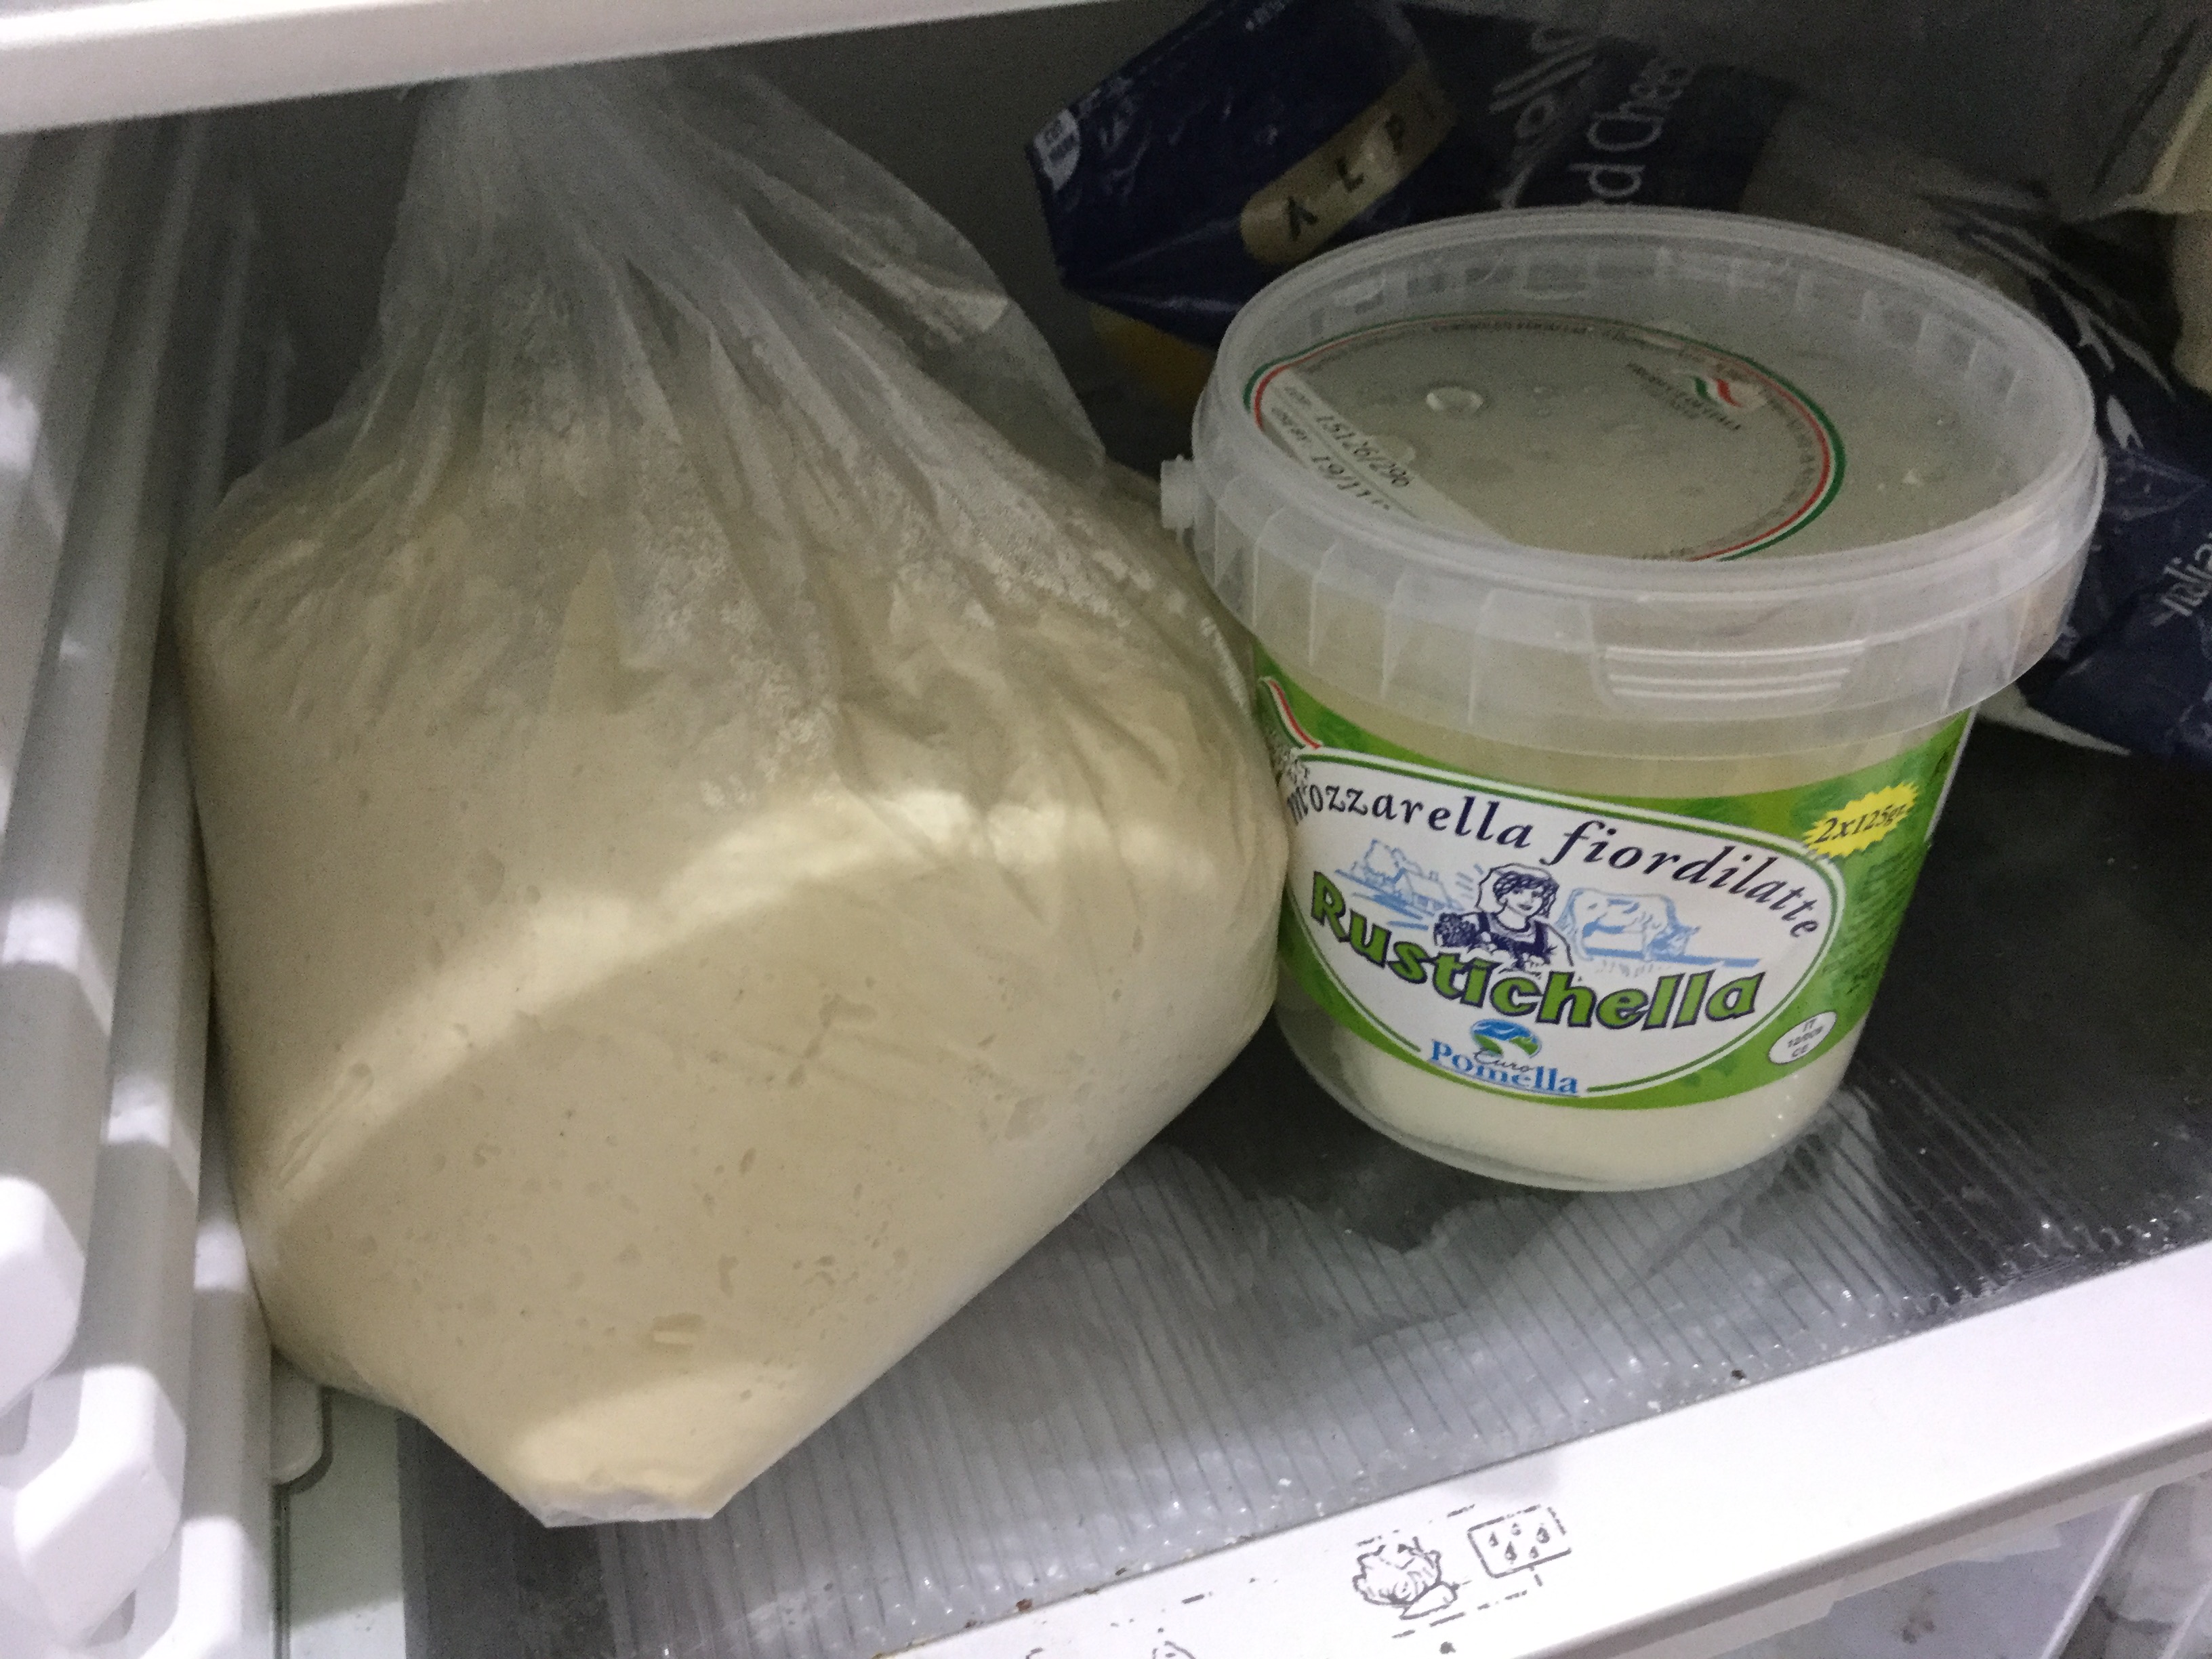
This recipe makes enough dough for two good-sized pizzas, so at this point, you want to take the now risen and VERY sticky dough out of its overnight bag, knead it down a few turns, and divide it into two more-or-less equal parts (the kitchen scale helps here):

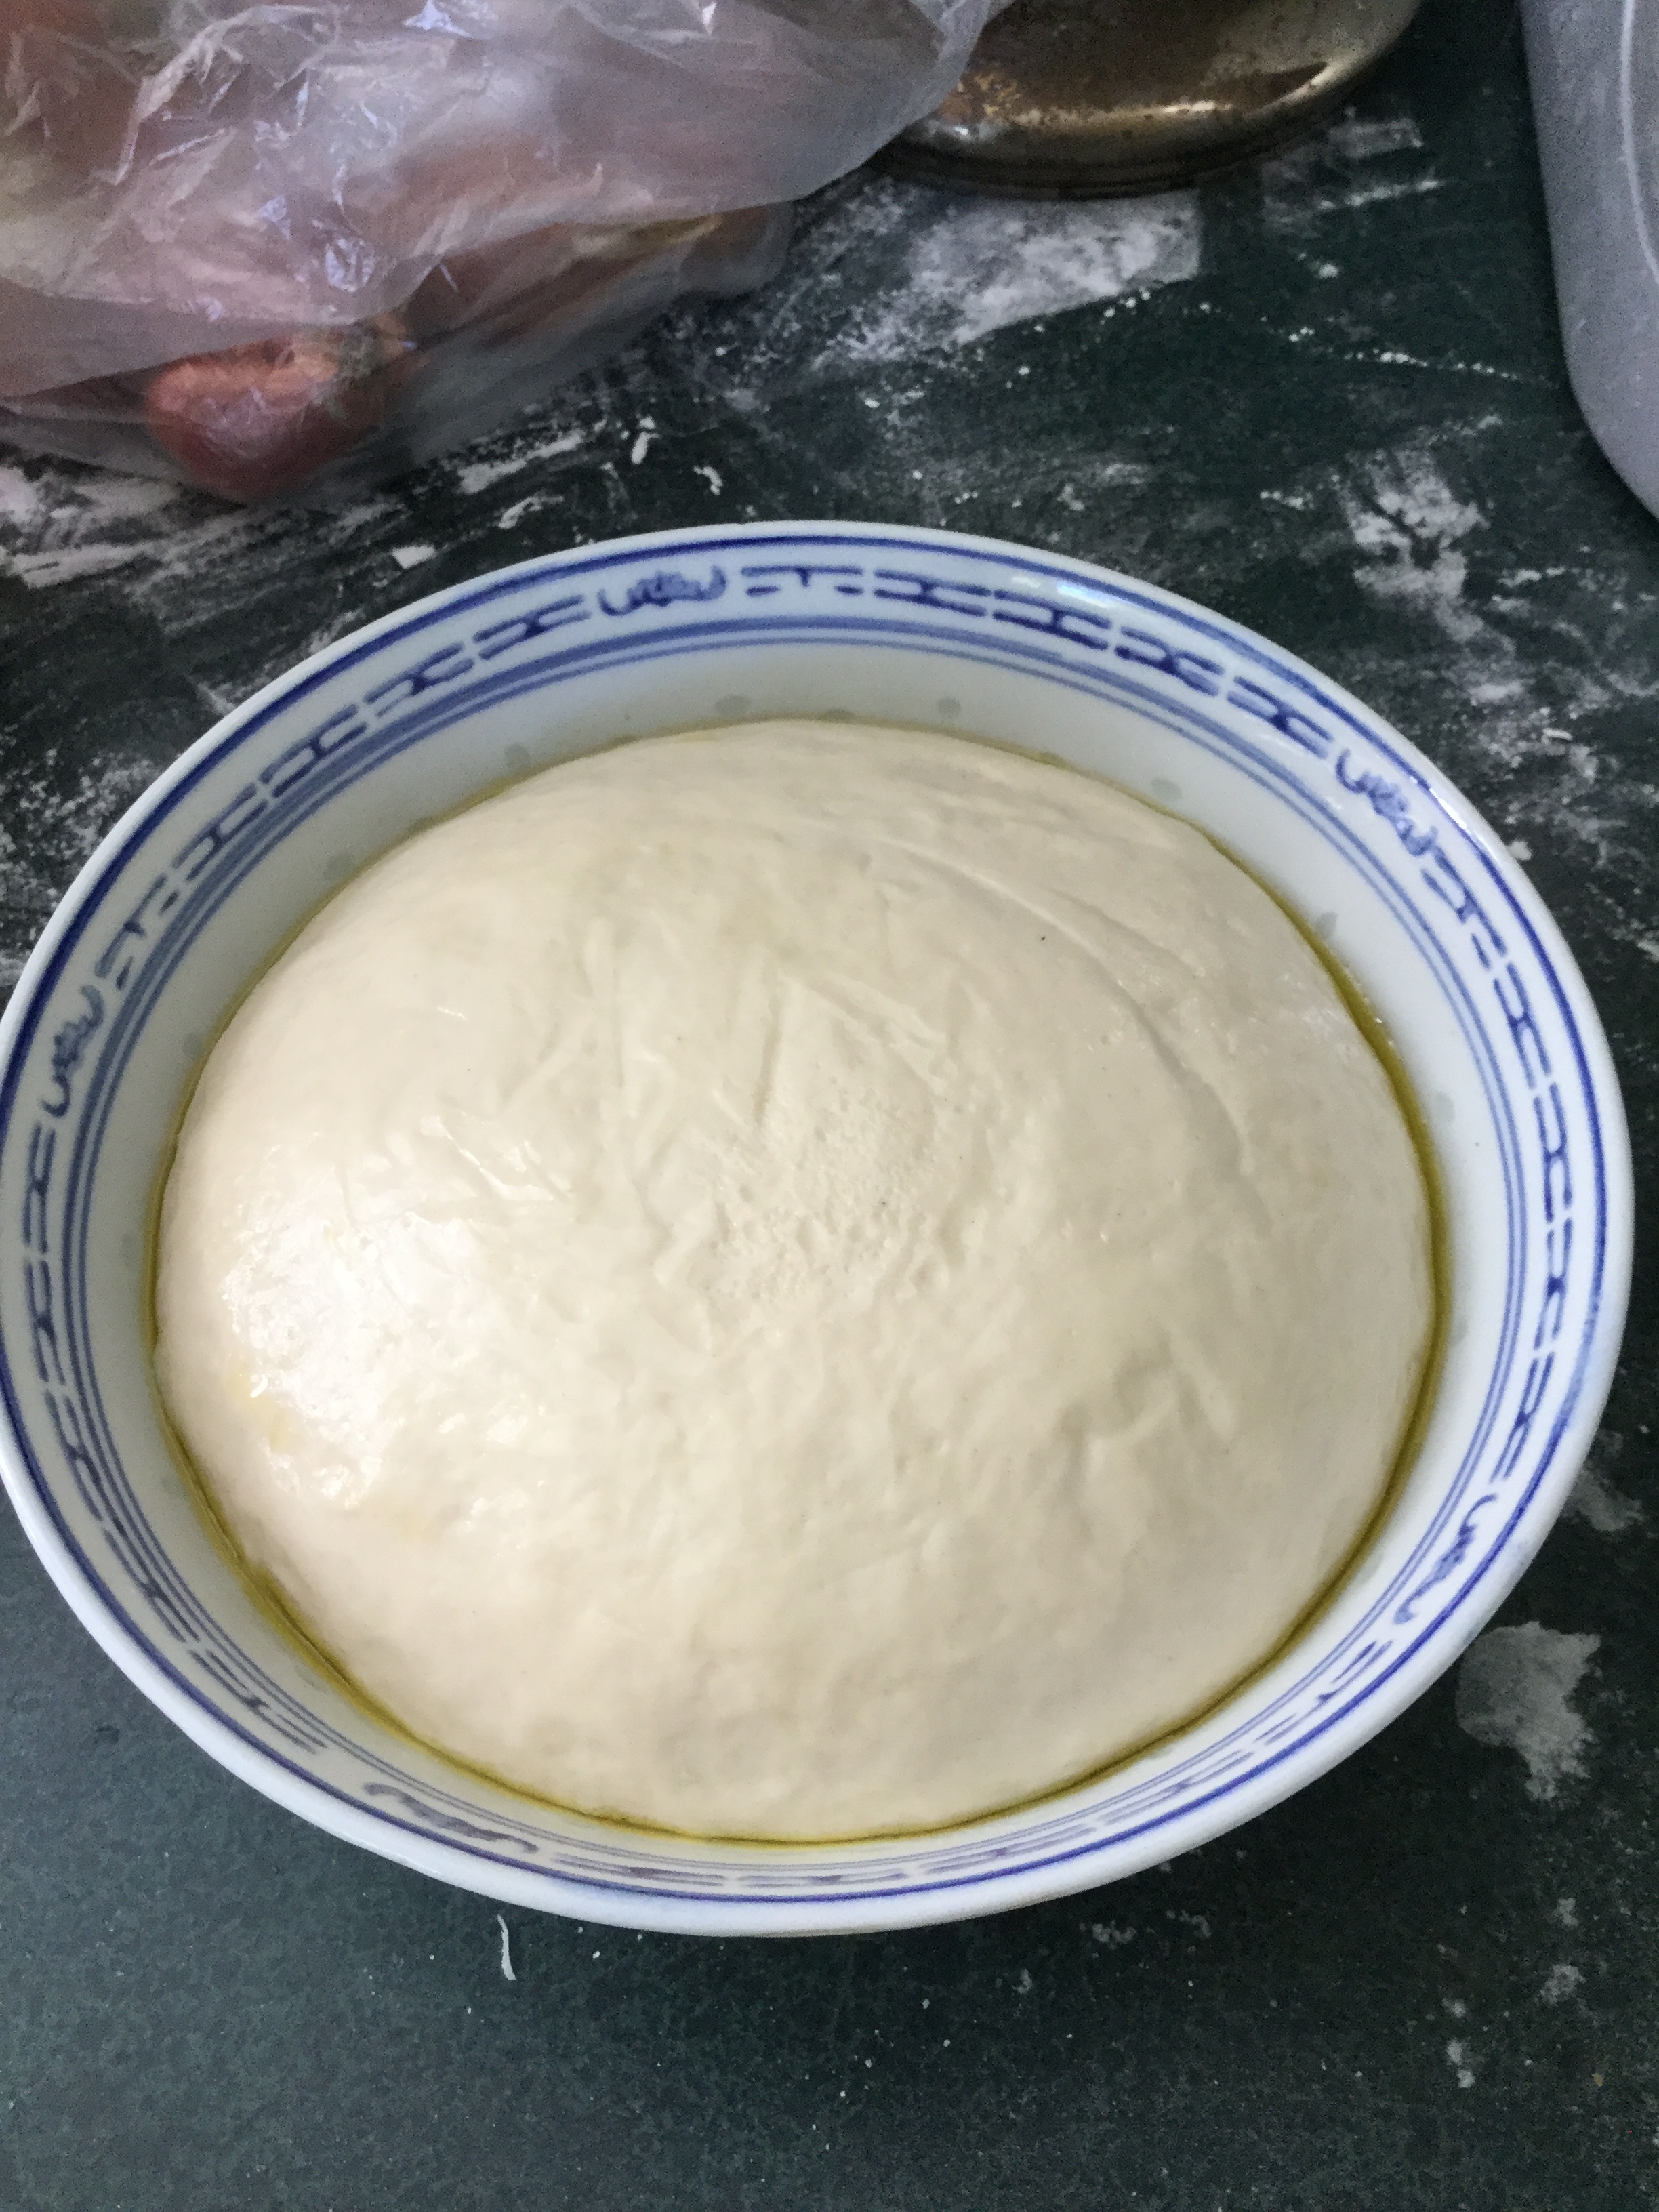
If you are only making one pizza today, put the second ball of dough back in its overnight bag and into the fridge to become pizza another day. Take the lucky ball of dough, that gets to be pizza today, and put it in an appropriately-sized bowl with a bit of EVO. Twirl the dough around in the EVO to get it nice and oiled up. Cover that baby up with some plastic wrap and put it in a nice warm place until about an hour and 30 minutes before you plan to bake your pizza.

By then, your dough will have risen away happily and look like this:
Turn your oven on to 260C or 500F, or as hot as it will go. Make sure your pizza stone is in the oven, if it doesn’t live there. You want that puppy HOT.
Turn the dough out of the bowl onto a well-floured surface and gently knead it a few more turns, just to incorporate the oil and get it back into a more compact ball. Then cover it with plastic wrap and let it rest for at least 30 minutes, and up to an hour.
Now, it’s time to stretch your crust. Start with your nicely-rested dough and shape it into a rough circle, like this:
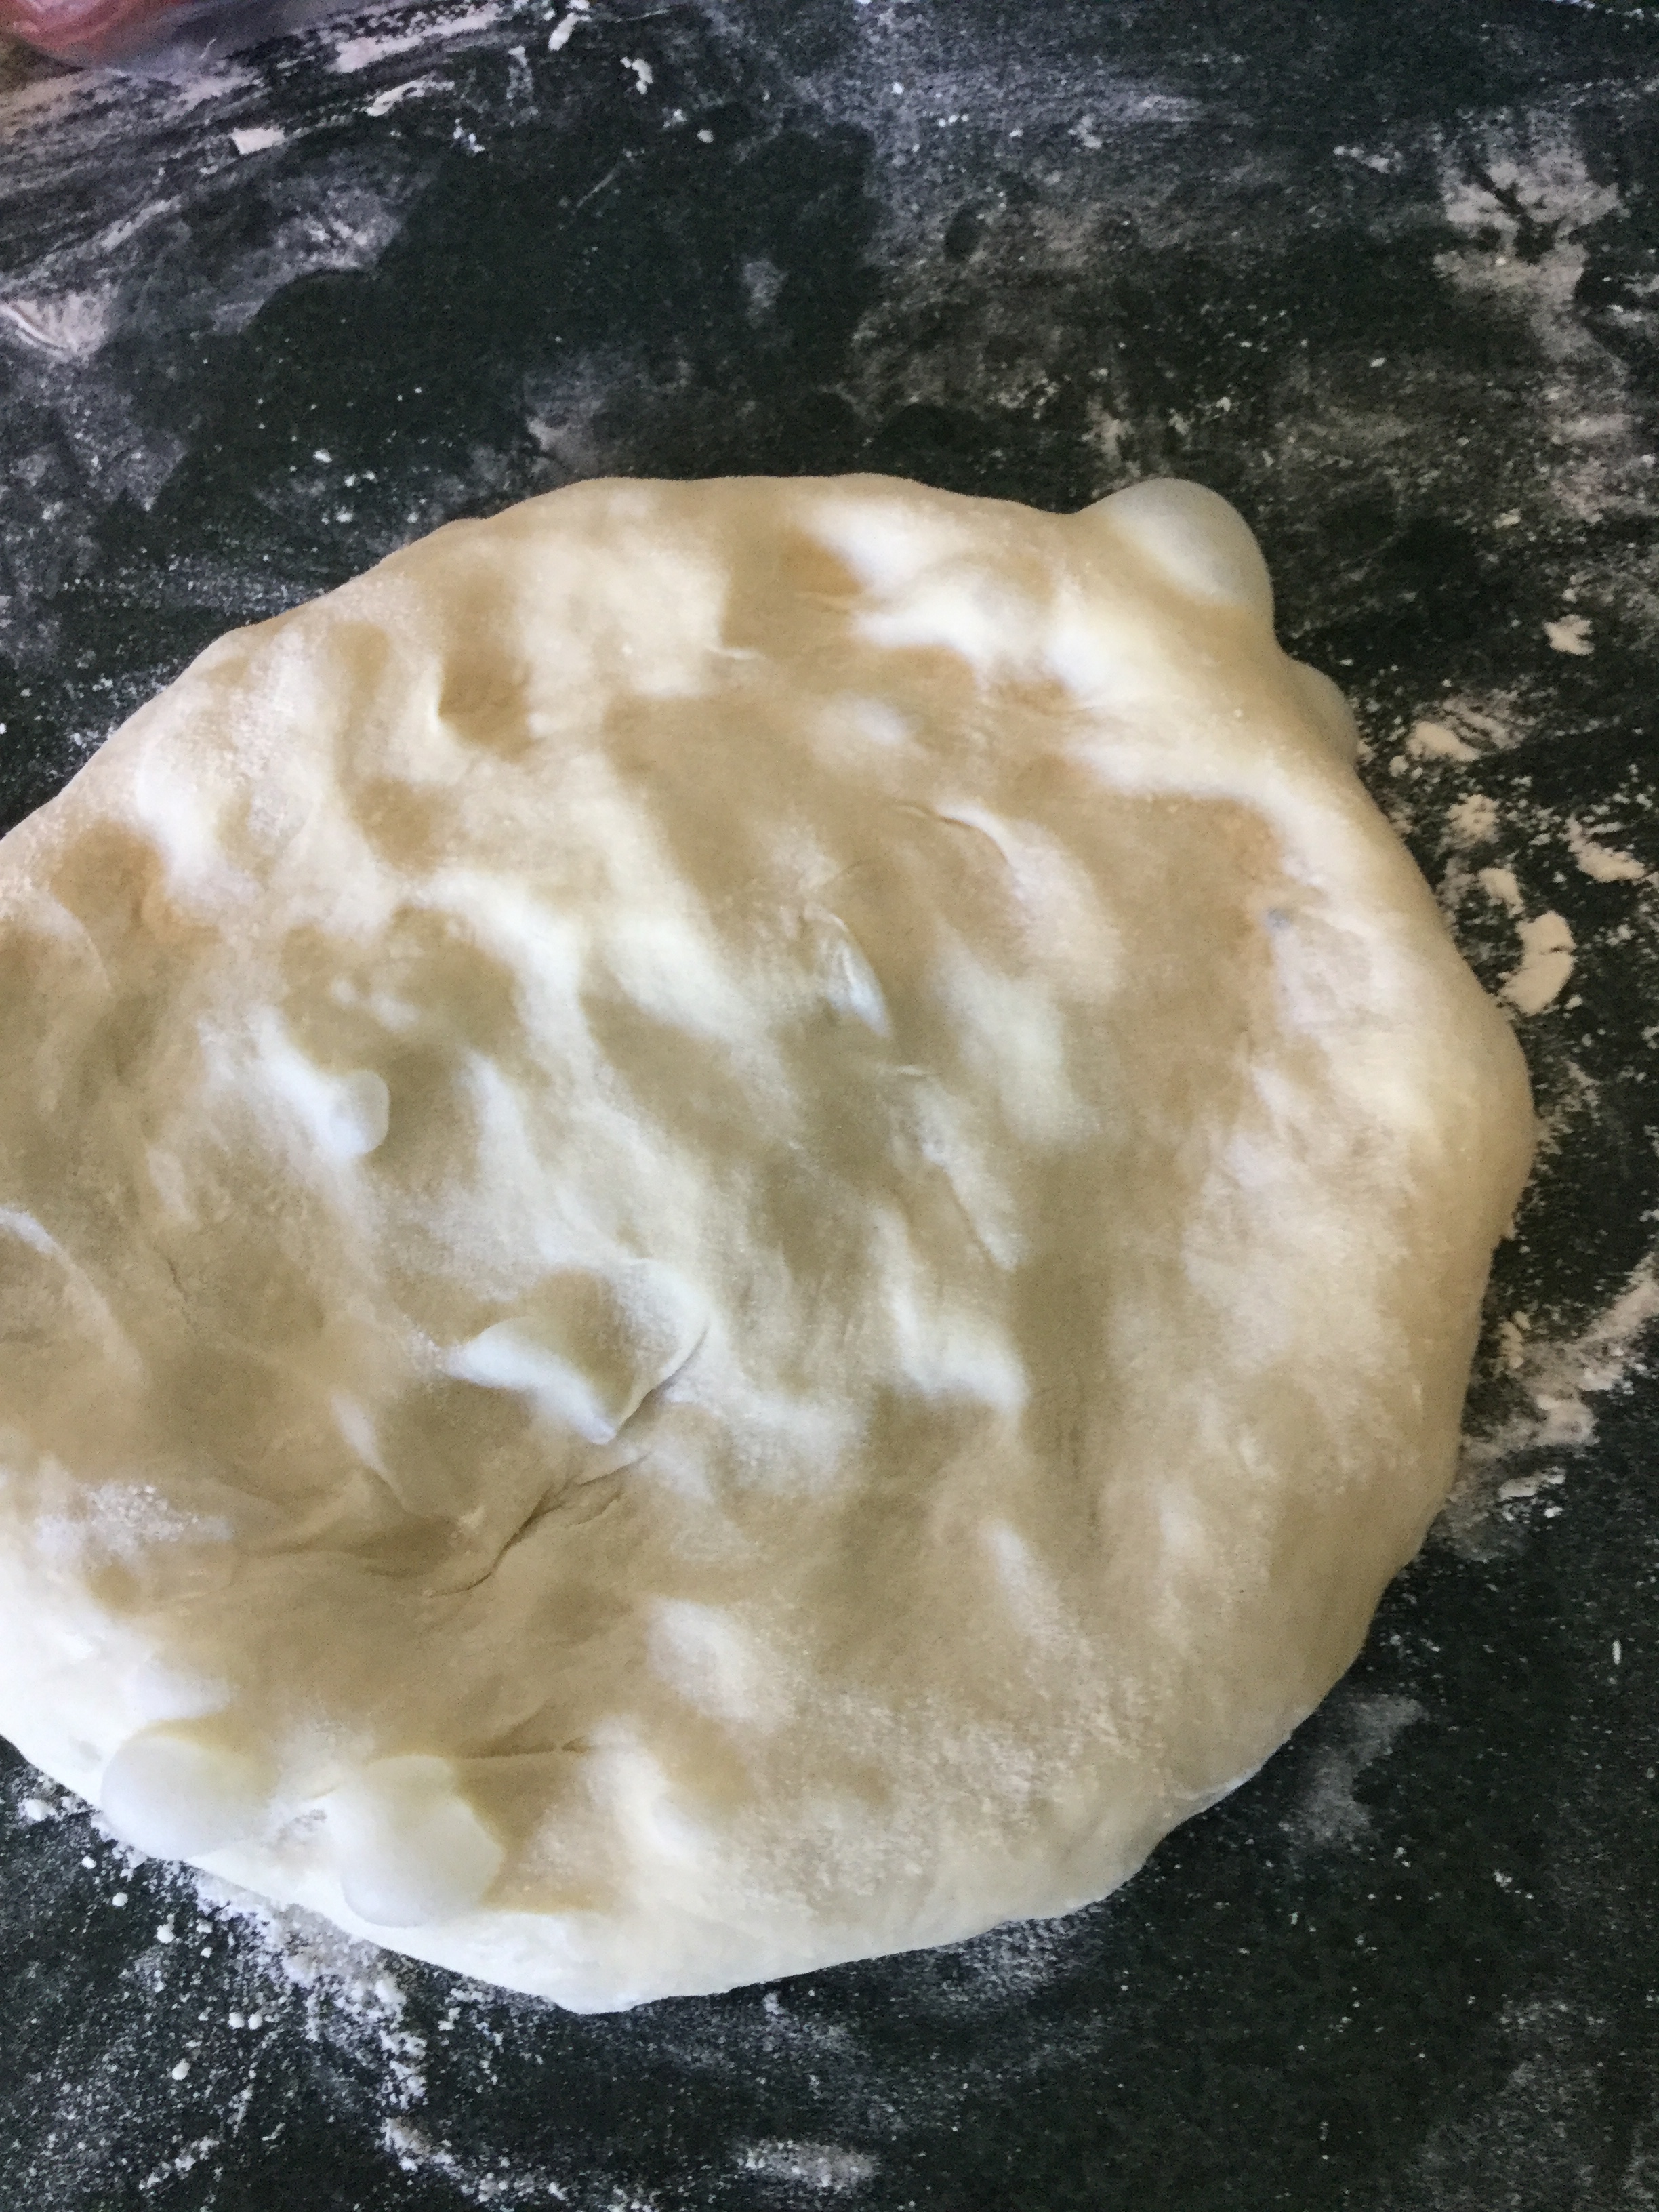
Then move it over to a sheet of parchment. Making generous use of flour, stretch the dough into the appropriate shape and size. Or you can toss it, but if you know how to toss pizza, you probably don’t need my help. If the dough is being stubborn, you can use a rolling pin, but try not to. My oven is tiny, so to achieve maximum pizza surface area, my pizzas are ovally rectangles:
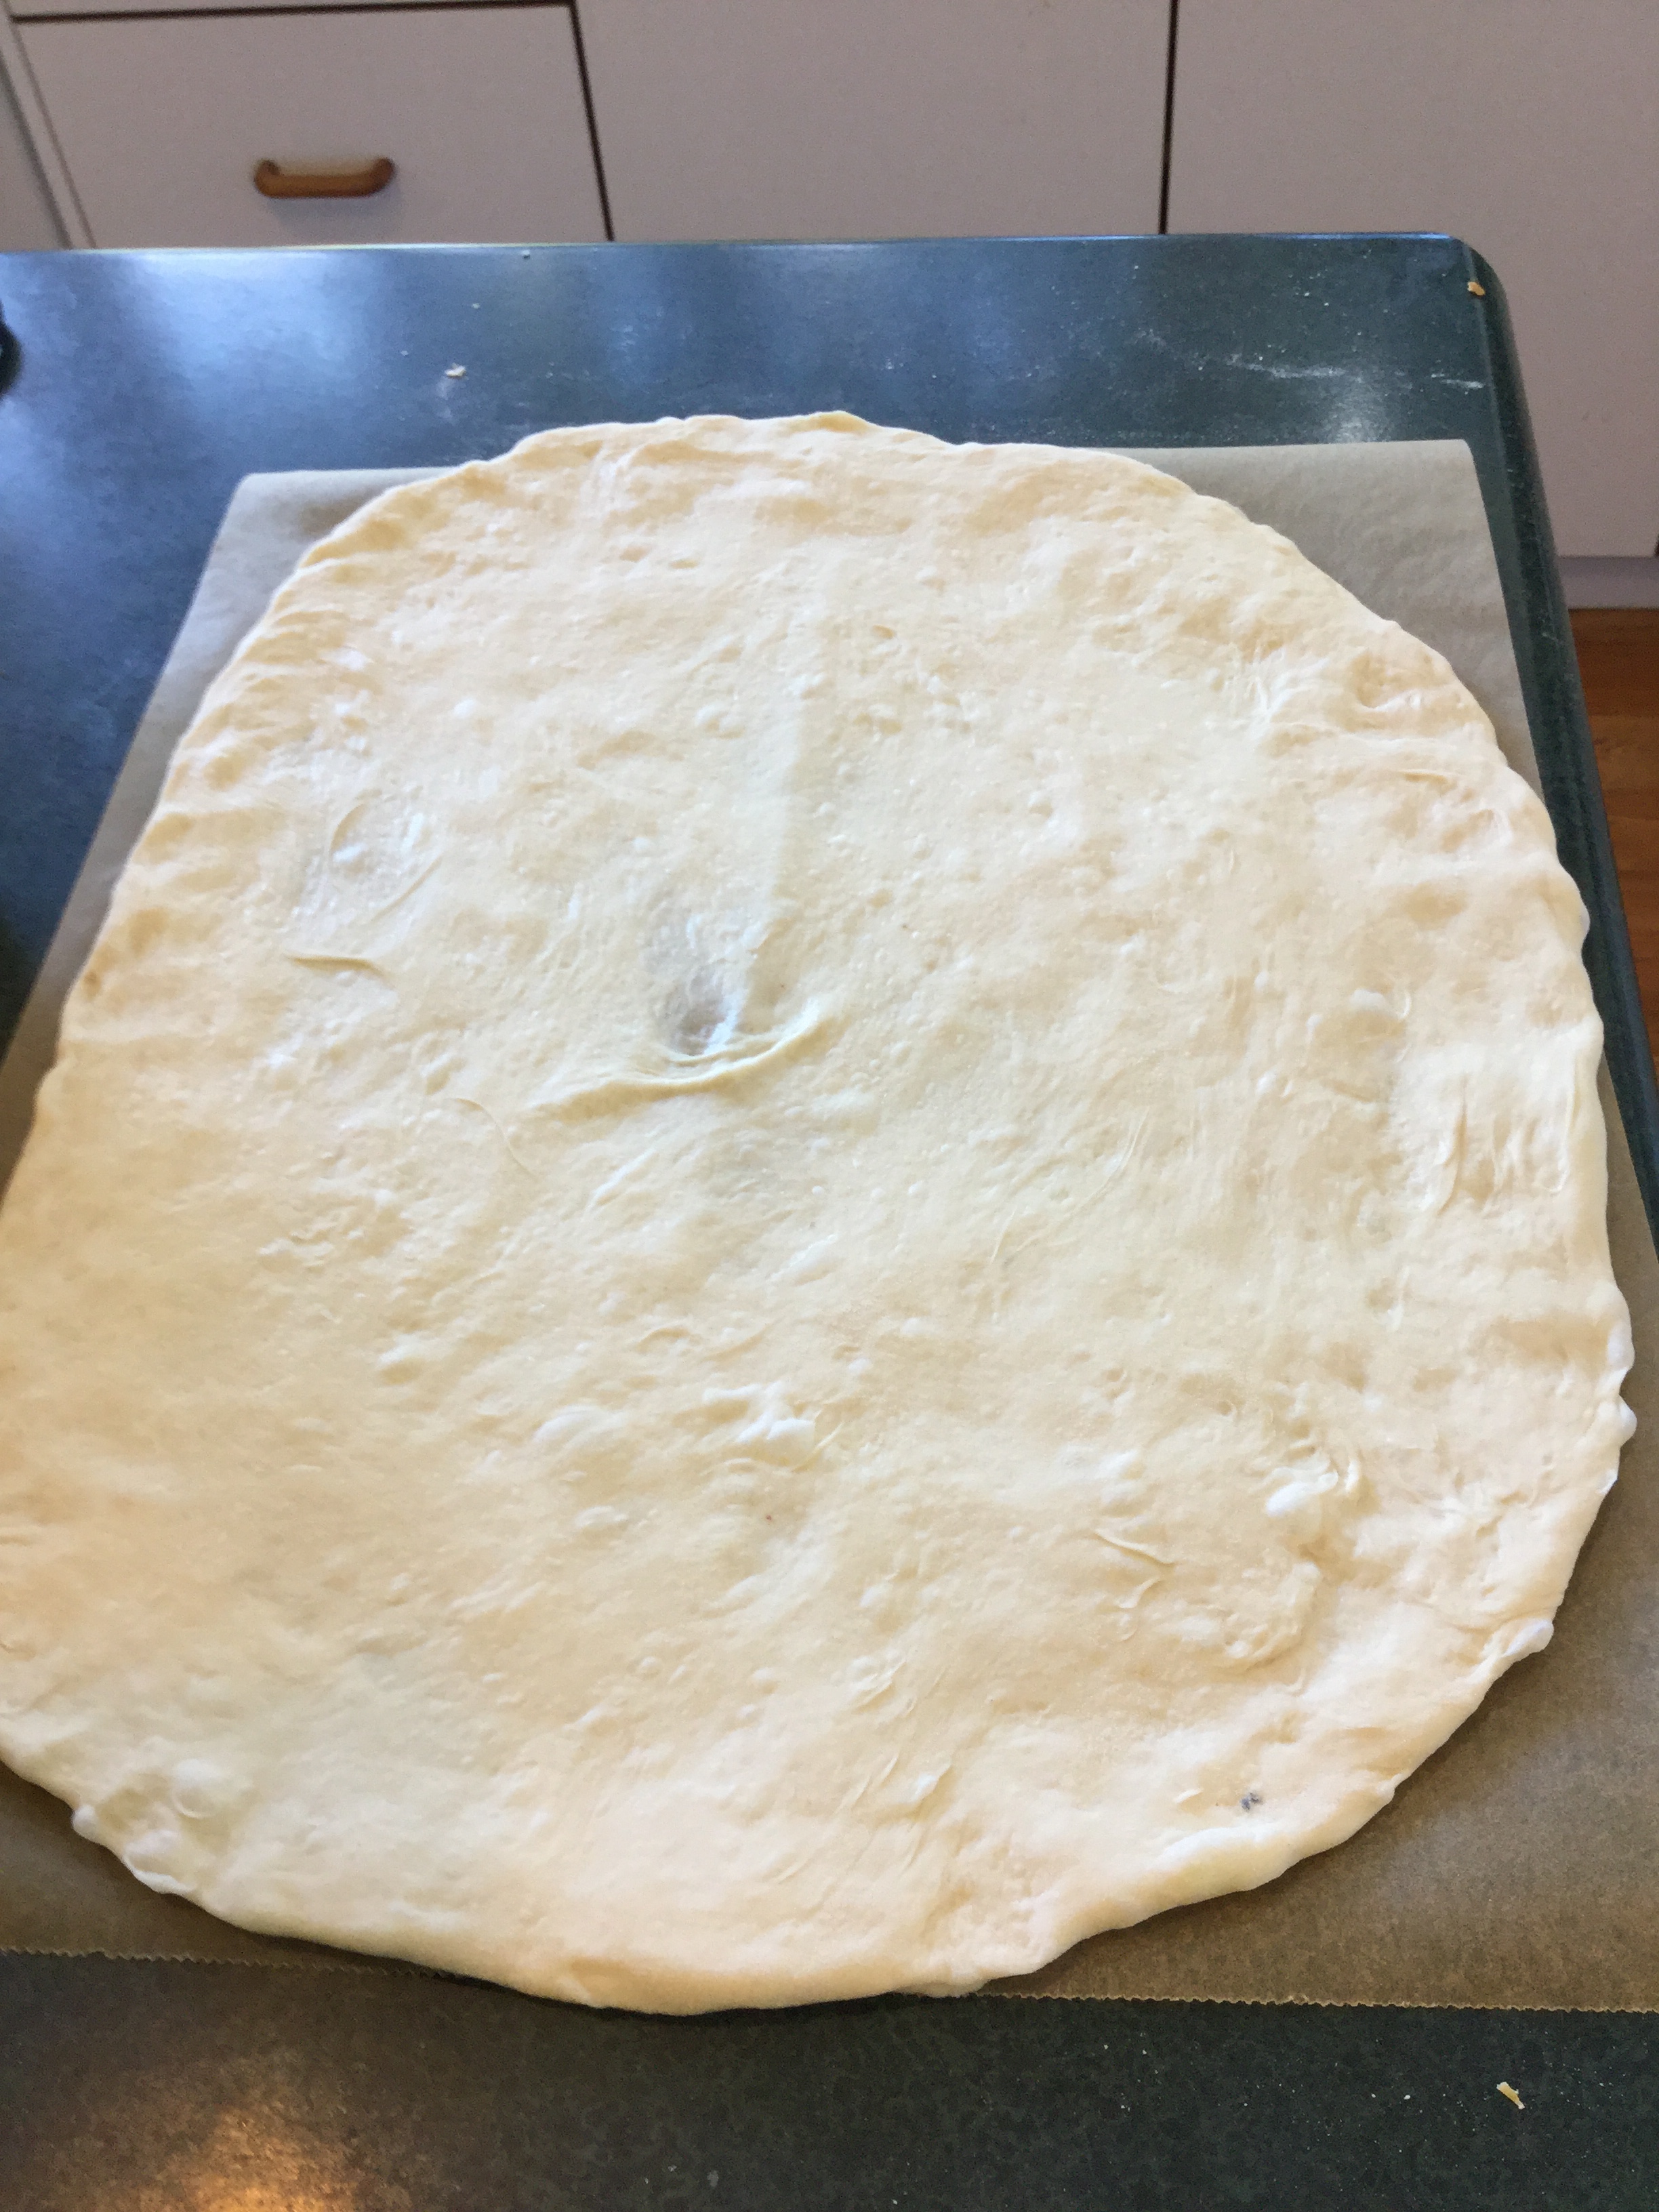
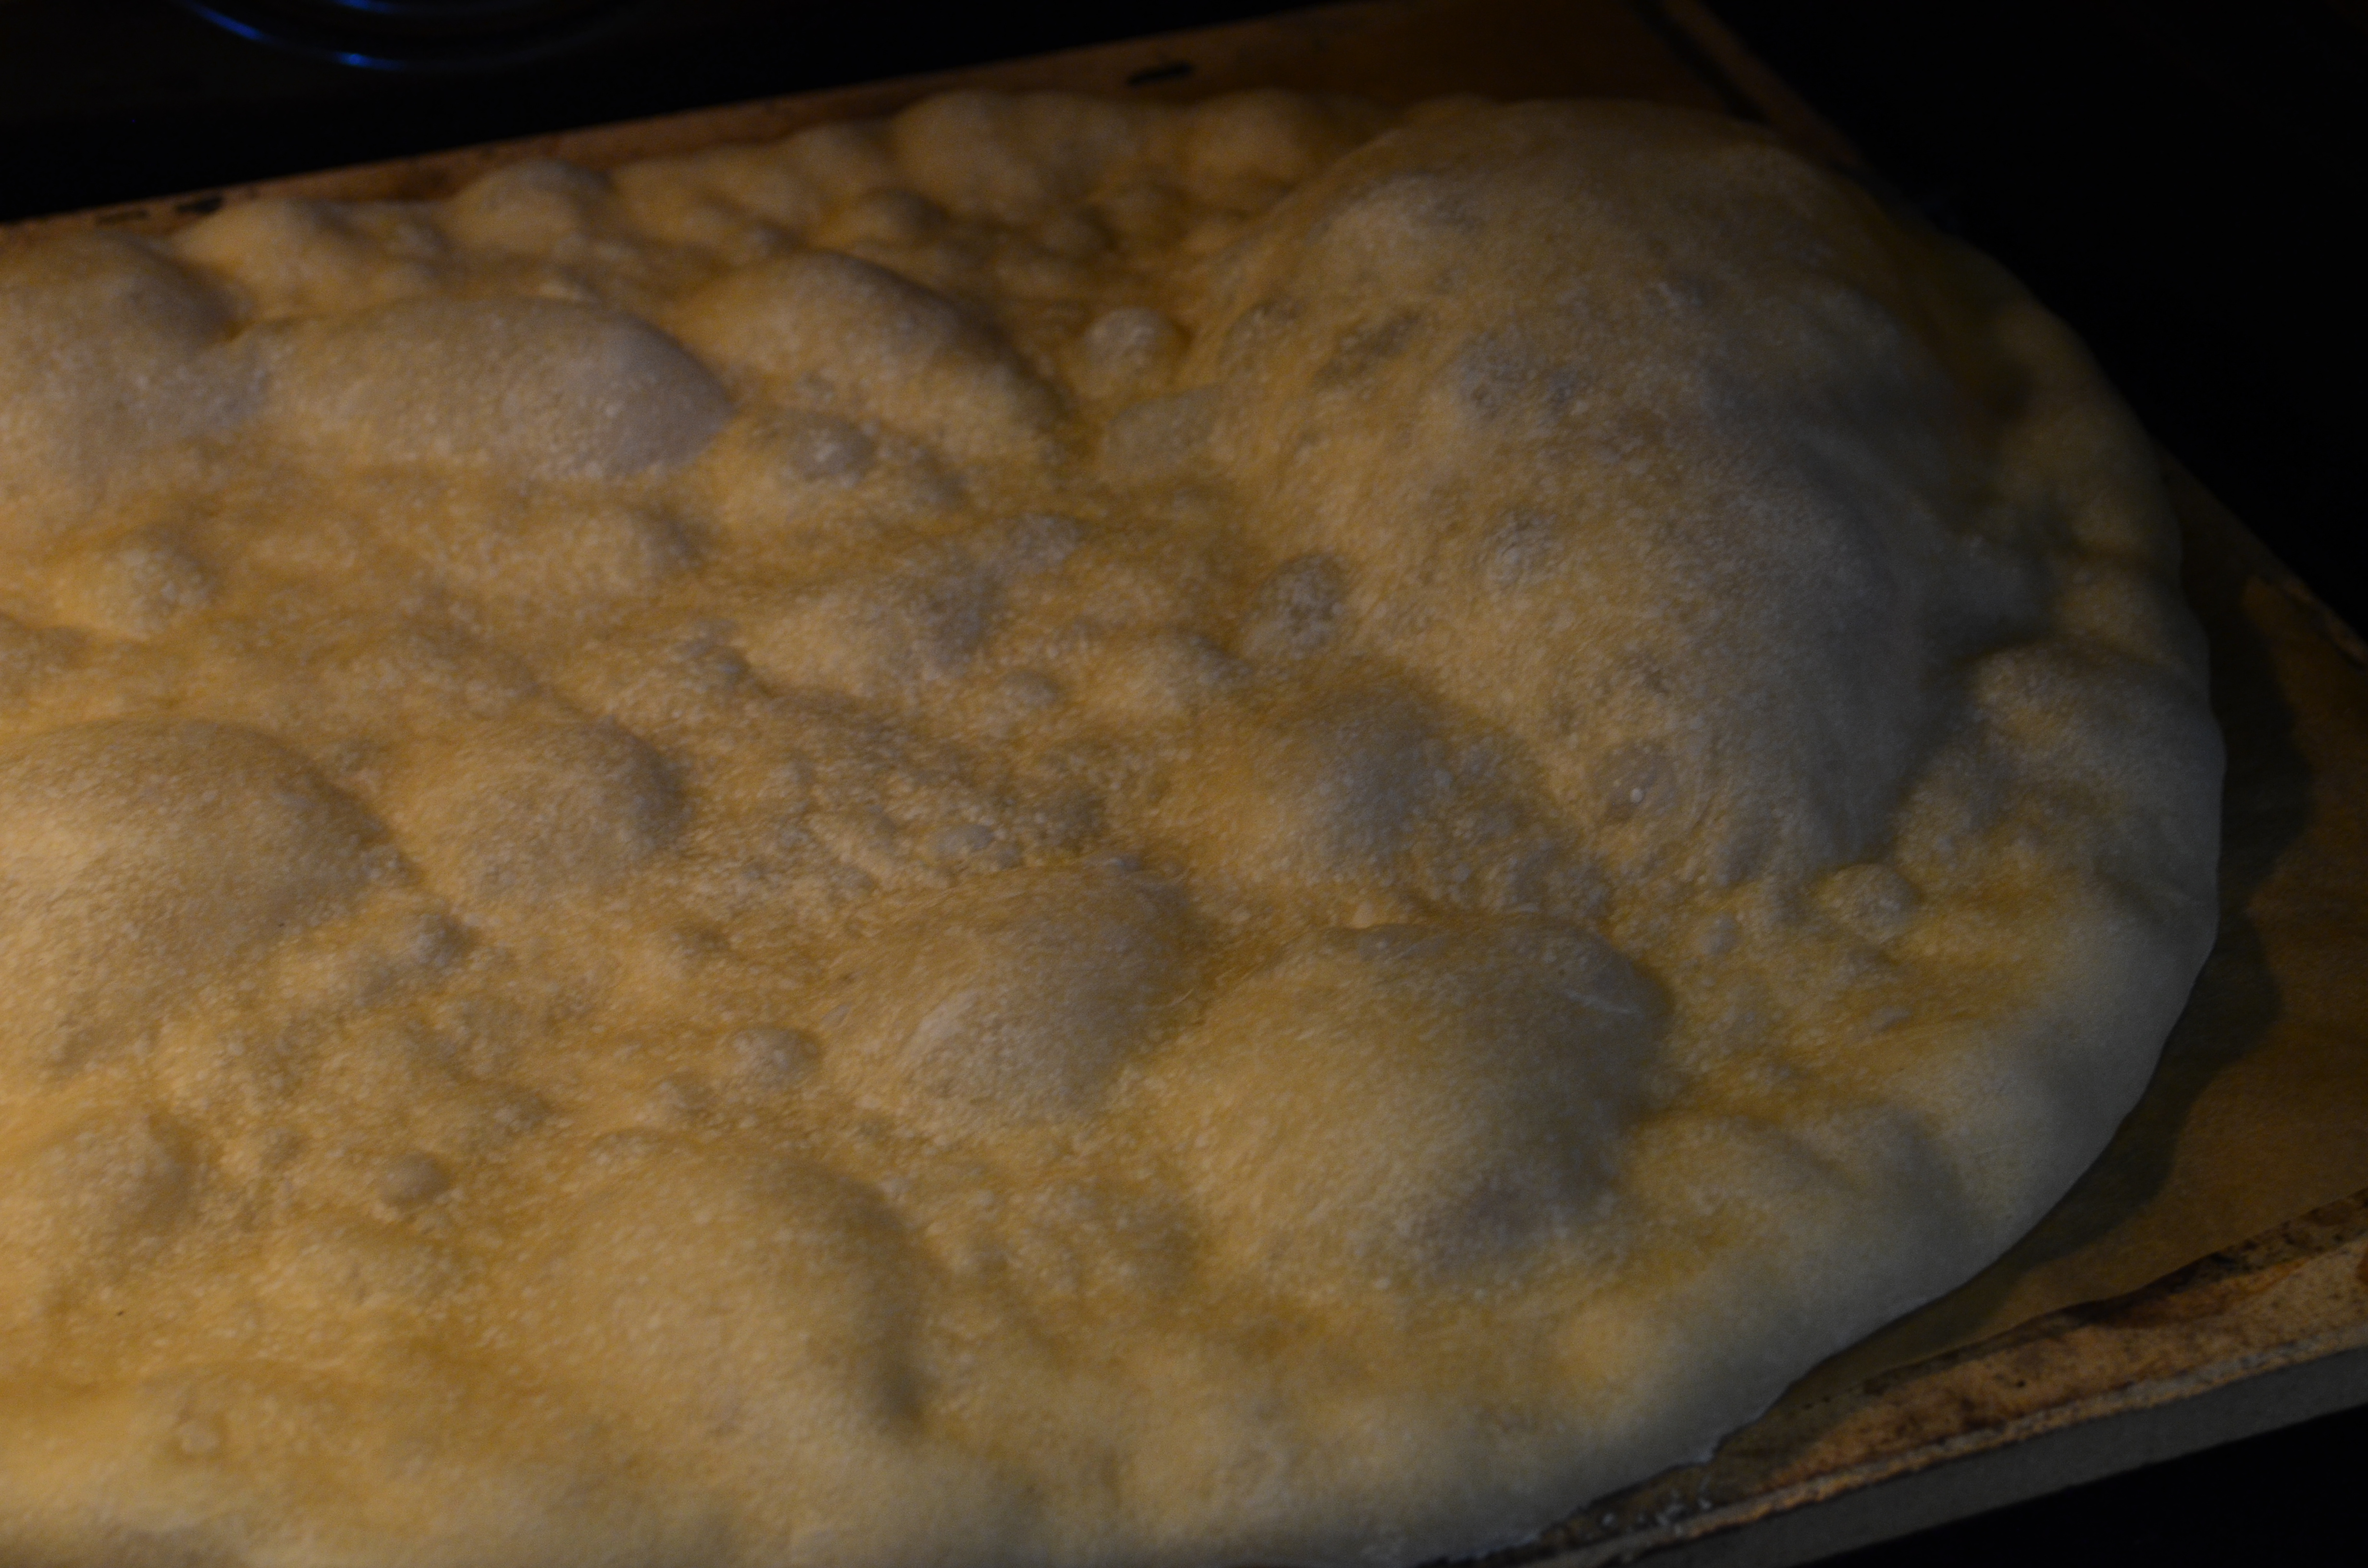
Now it needs to rest again, for 30 minutes or so. And it is ready to bake. I always pre-bake my crusts for about 5 (no more) minutes before I put on the toppings. It keeps the crust from getting soggy. You can brush it with olive oil, but I don’t. Just slip the crust and the parchment on to a flat baking sheet or pizza peel, then directly on to the baking stone. It will get lots of fun bubbles on the surface, but you can press those back down when you take it out to put on the toppings.
After this initial baking, you won’t need the parchment to move the crust around, so just slide it back on the baking sheet or pizza peel and put on your chosen toppings. I usually start with the thin layer of cheese, but you know what you like.

Put the assembled artistry back into the hot oven for another 8 minutes or so.
Take it out of the oven.

Slice it.
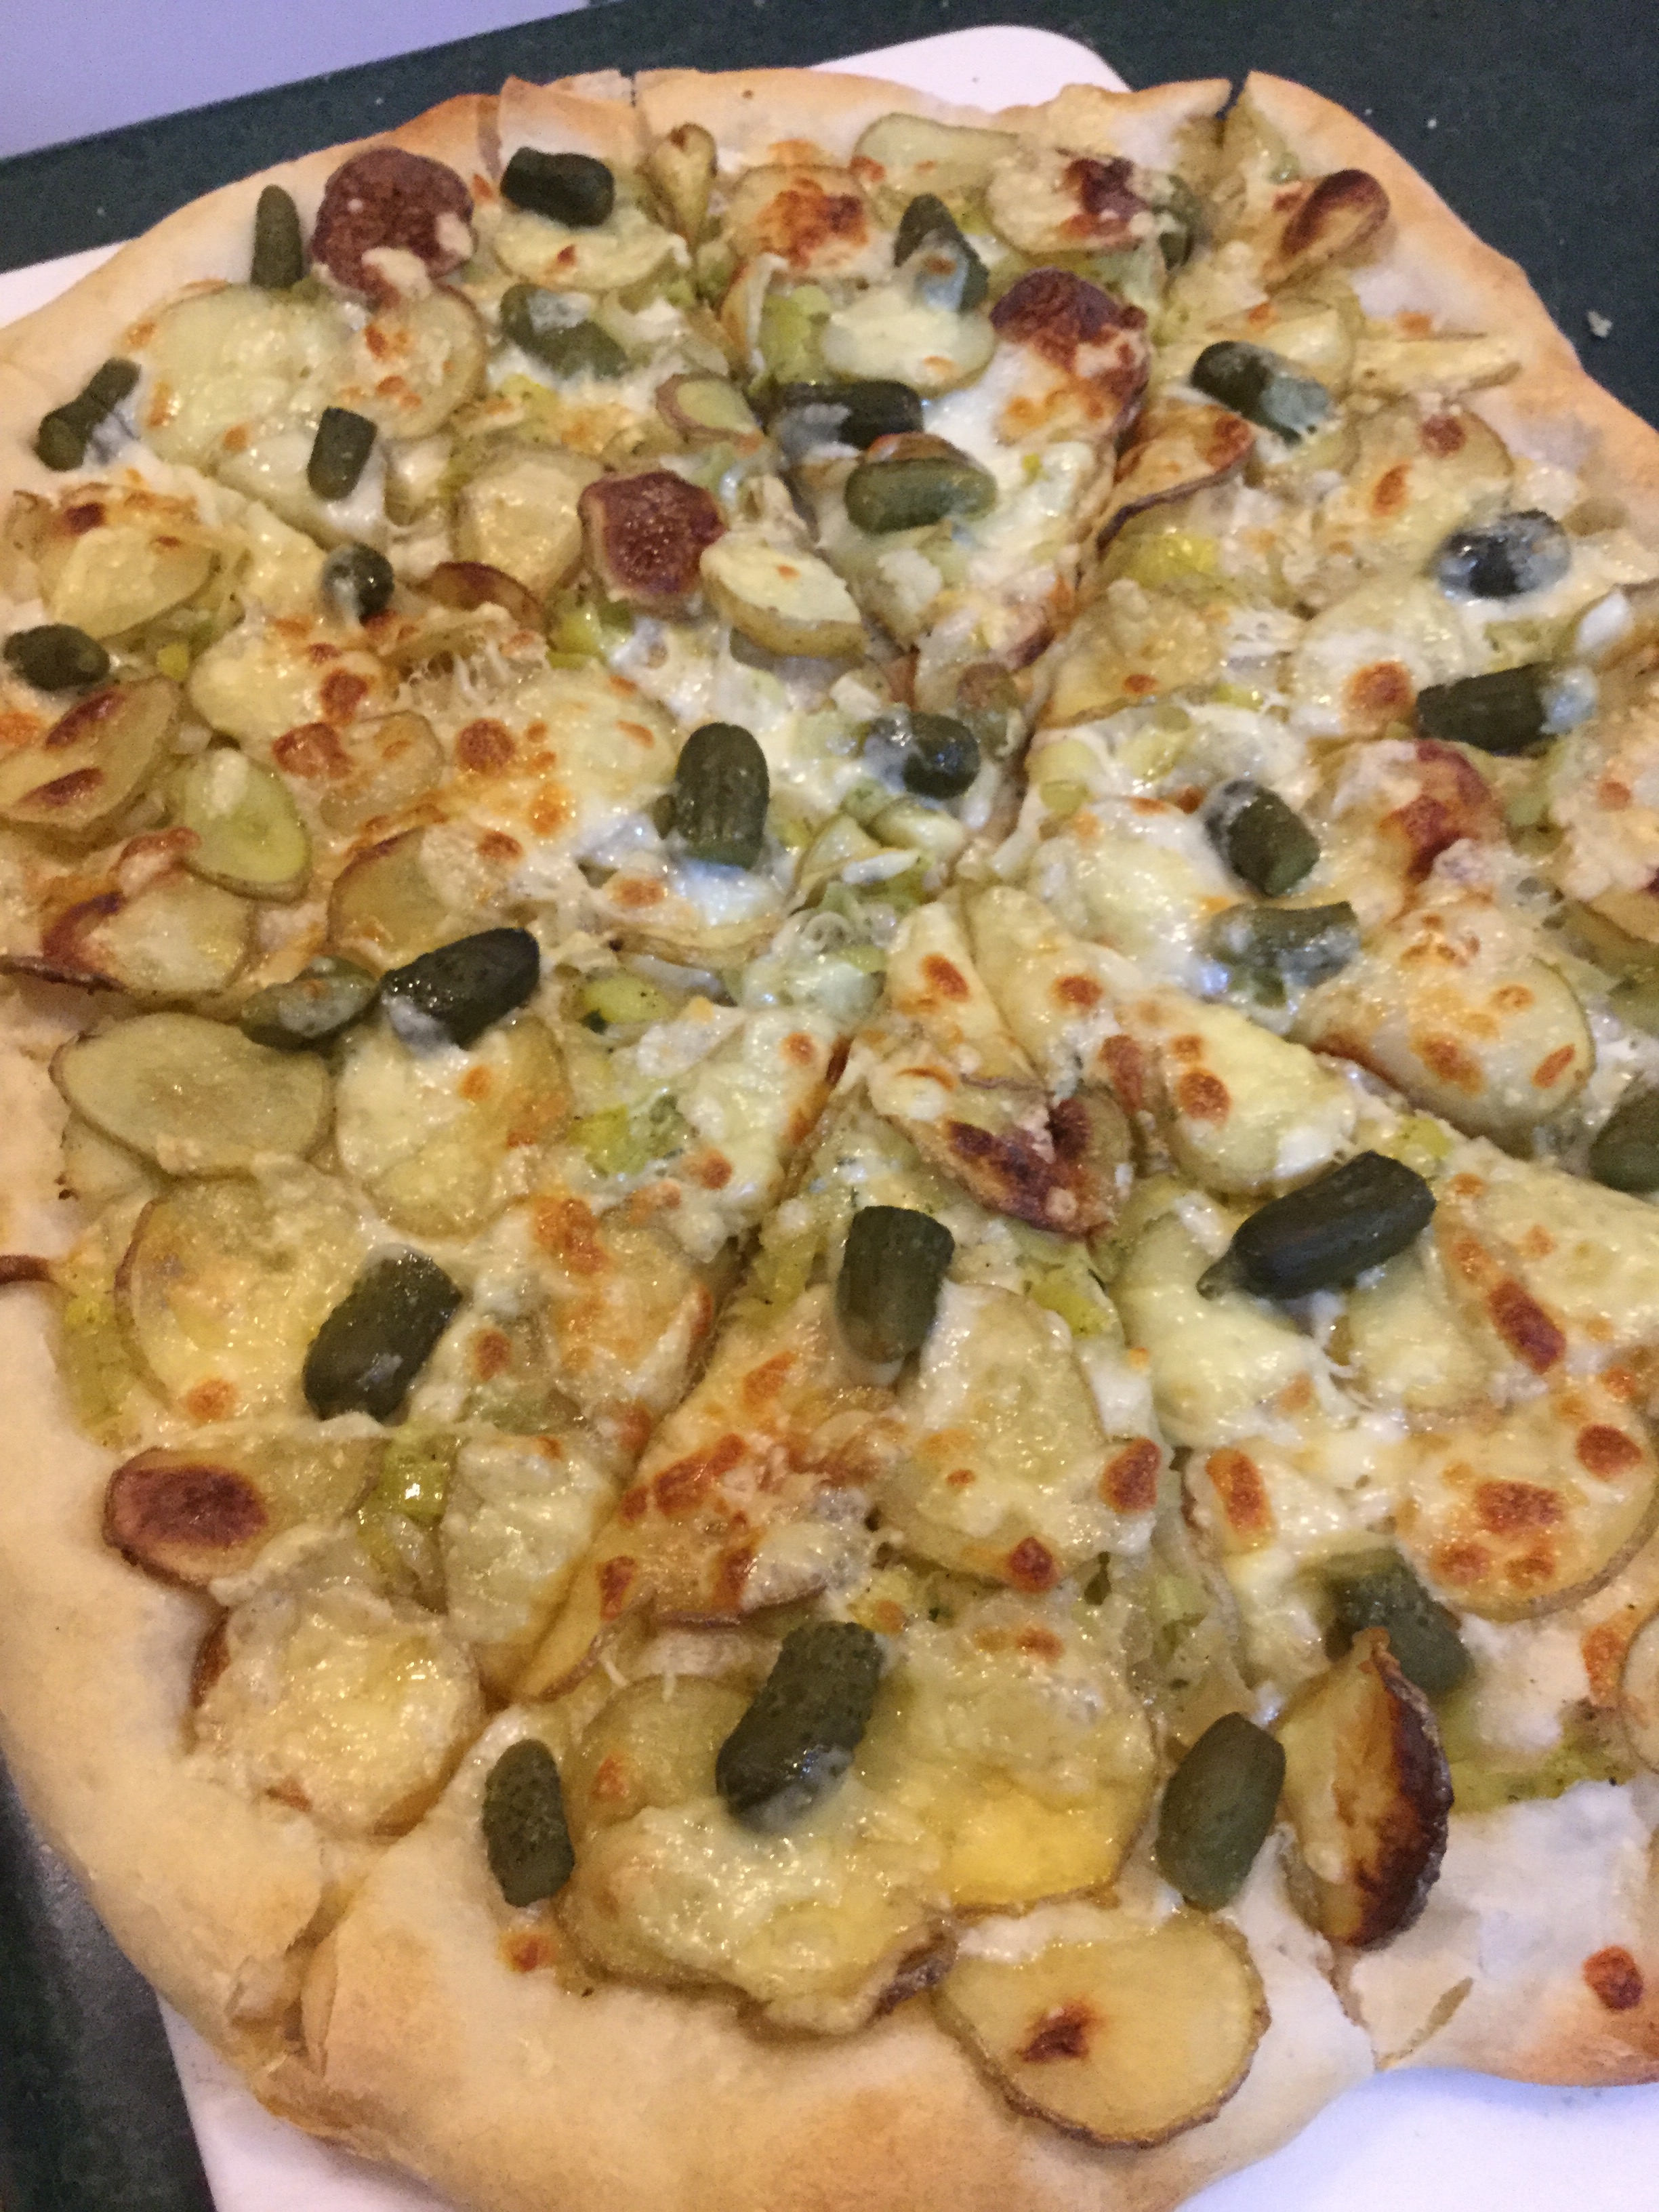
And eat pizza.

